Samba/CIFS
Rockstor supports making shares available to SMB and CIFS clients via the Samba software suite. Samba is the recommended way to access your Rockstor shares from a Windows client, but can also be used to access shares from a Linux or MacOS client. See our How to Access a Samba export section for more details.
To access a Rockstor share from a client machine, the Samba service must first be configured and turned ON.
In the Web-UI, click on the Storage tab to enter the main Storage view. Now click on Samba in the left sidebar to go to the Samba view.
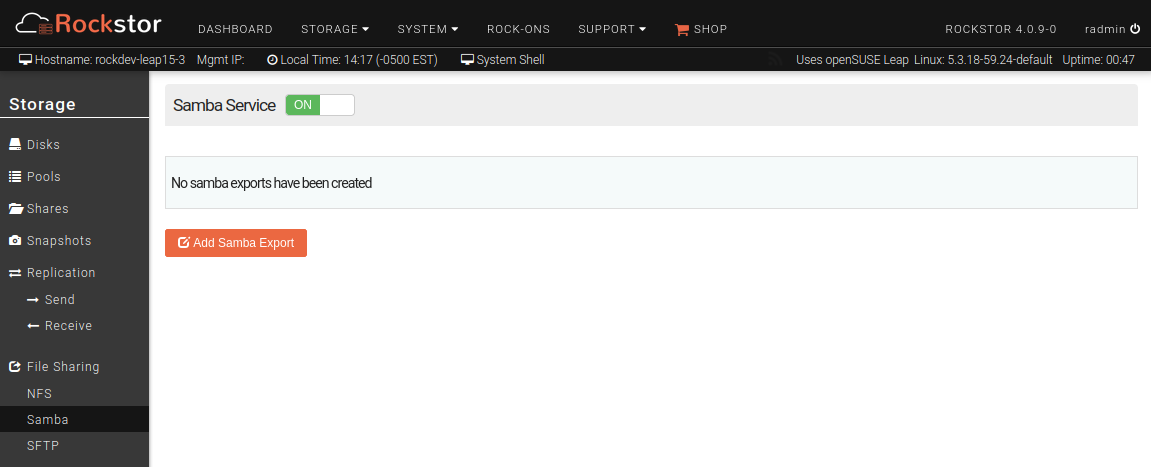
This page will let you View/Edit/Delete a Samba Export or Create a New Samba Export.
Create a Samba Export of a Share
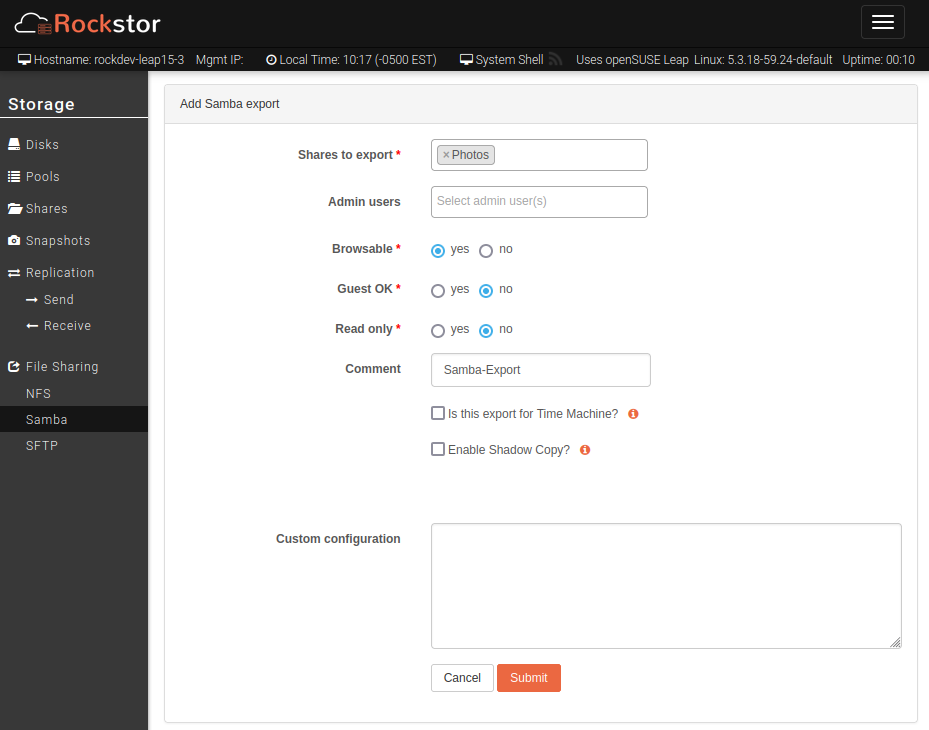
To create a new export, click on the Add Samba Export button and fill in the form with the appropriate values as explained below.
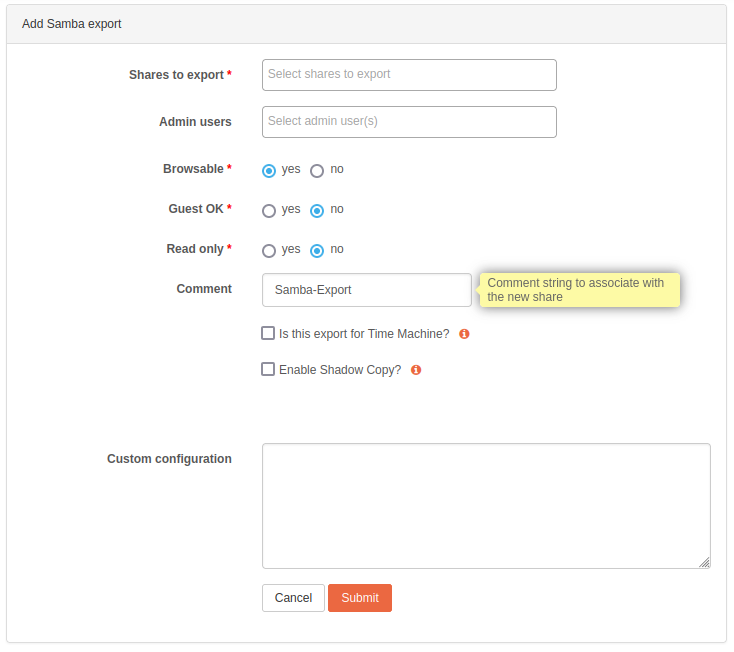
Shares to export: select the share(s) that you want to export through Samba.
Admin users (optional): select the user(s) who will have administrative access to this share. These users can be local, or from NIS or Active Directory. Admin Users are equivalent to the root user on Rockstor and have all permissions. If your users come from Active Directory, we recommend you use one Admin User and add/change ACLs for other users from a Windows machine.
Browsable: If set to yes, clients will be able to see the exported share(s); if set to no, you will need to manually enter the path to exported share(s) in your client. Note that this does not affect access to the exported share(s), only their visibility from clients.
Guest OK: set to yes if you want to allow guest/anonymous access; no password will be required to access the exported share(s). If set to no, only users with permissions to access this share will be allowed (requires a login and password when accessing the share(s)).
Read only: set to yes if the exported share(s) should not be writable by clients.
Comment: comment string to be associated with the exported share(s).
Is this export for Time Machine?: select if the exported share is to be used for Apple Time Machine.
Enable Shadow Copy?: select to enable support for “Previous versions” feature in Windows clients. See Accessing Snapshots from Windows for more details.
Custom configuration (optional): you can provide custom parameters that will be added to the exported share’s section in the
smb.conffile. See the Samba documentation for details.
When ready, click Submit to finalize the creation of the Samba export; you will then be returned to the list of all currently defined Samba exports. You may now proceed with accessing these Samba export(s) from your client(s) of choice. See How to Access a Samba export for more details.
View/Edit/Delete a Samba Export
If you already have Samba exports created, you can see them displayed in a table:
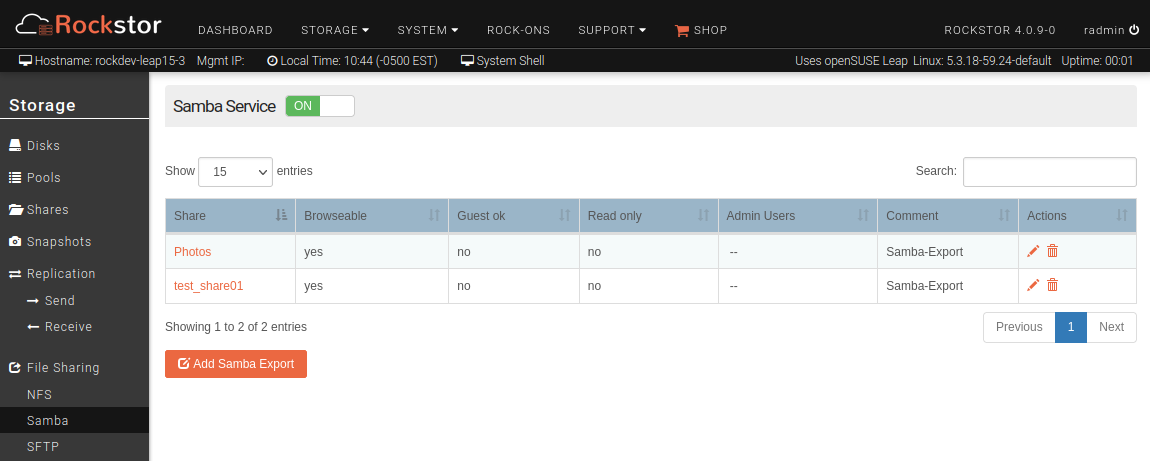
Most of the details about the samba export(s) are shown in the overview table. Here is what the columns in the table mean:
Share: Name of the exported share (click to see the share’s details page)
Browsable: Is the share browsable by everyone? yes/no
Guest Ok: Are guests Ok to access the share? yes/no
Read only: Is the share read only?
Admin Users: Users who have administrative access to the share.
Comments: Comments related to particular samba export.
Actions: pencil icon: edit the Samba export; trash/bin icon: delete the Samba Export.
How to Access a Samba export
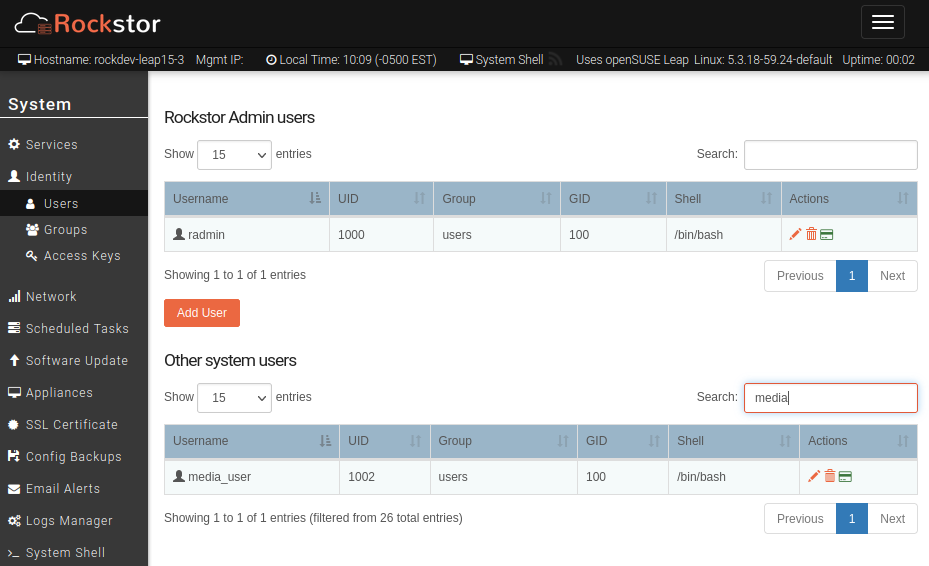
Samba/CIFS is the standard way to store and access data in Shares from Windows, Mac, and Linux clients such as desktops and laptops. In the steps below, we will assume we want to have a Rockstor Share to store photos that will be accessed by a variety of clients (Linux, Windows, and MacOS) on the local network. We thus created a share named Photos for that purpose. We also created a user named media_user that will be used to access this share.
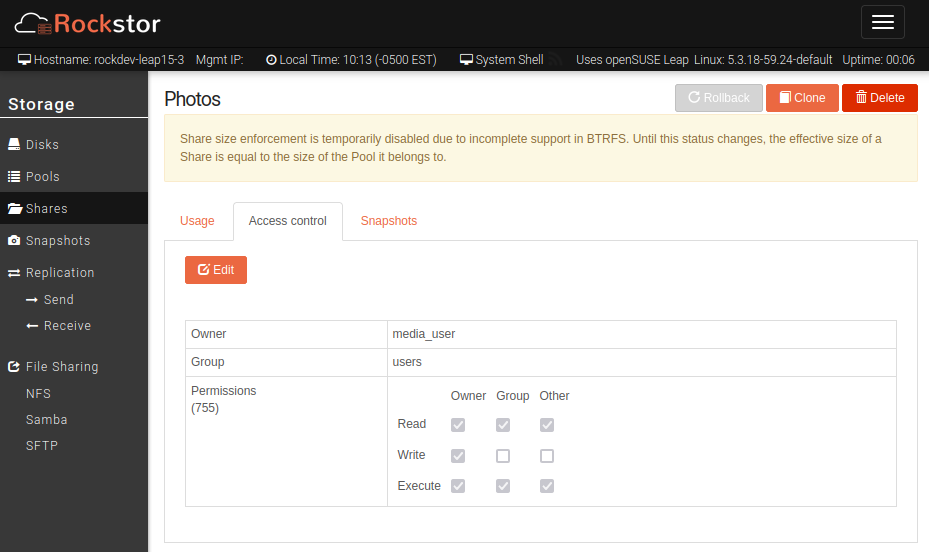
We thus need to ensure this user has ownership and read & write access to the Photos share by setting this share’s access control as follows (see our Access control section for more details):
In order to access a Share, it must first be made available. We can thus create a Samba export for this share as follows (see Create a Samba Export of a Share for details):
The Photos share is now configured for Samba/CIFS availability, and is ready to be accessed from various clients as described below.
From Unix/Linux
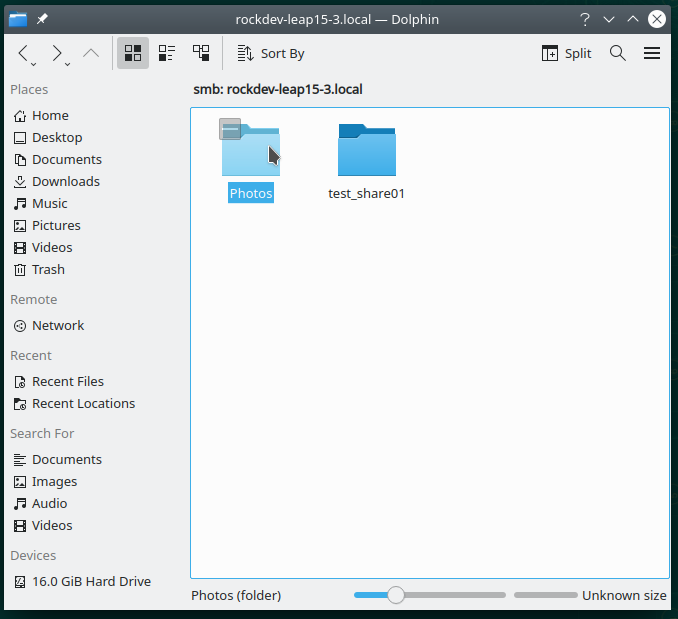
On a Unix/Linux client, although the experience will slightly differ between distributions, the Rockstor server will appear in the file explorer application as an entry. In Dolphin, for instance, the Rockdev-Leap15-3 server is listed under the Network section, Shared Folders (SMB):
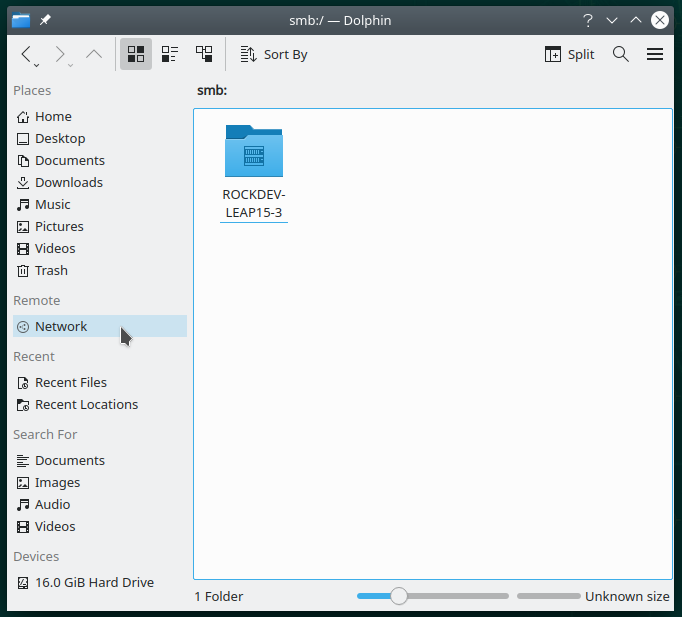
Clicking on the server name will display the available exported shares.
Connecting to a Share can be done by clicking on it, and authenticating as a specific user who has permissions to access the Share, or as a guest user. In our Photos example, we have configured the user named media_user with permissions to access this share. We can thus enter its credentials as follows:
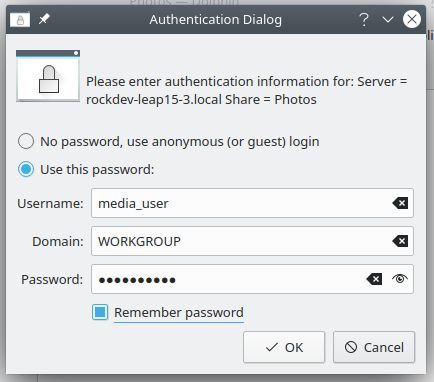
Click OK.
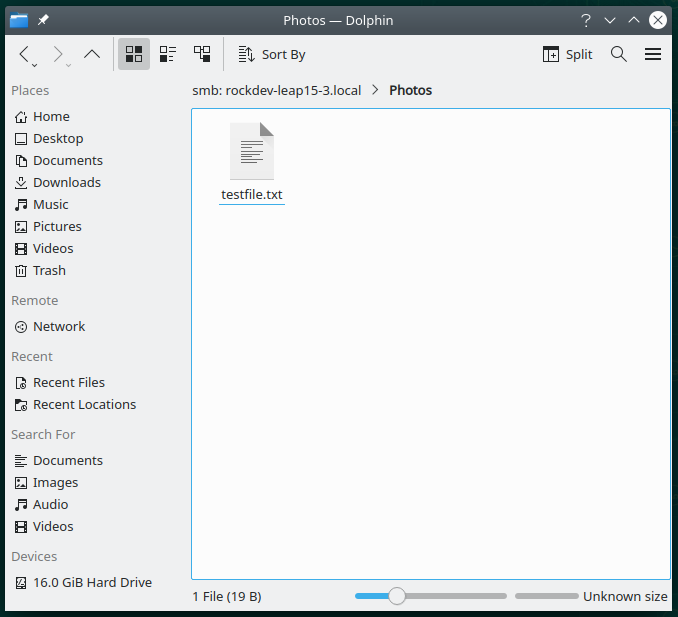
Depending upon the options selected while creating a Samba export, you should be able to read, write, create and delete files and folders inside the share.
From Windows
There are multiple ways to access a Samba export from Windows, all perfectly valid:
by manually entering the share’s path
by adding a network location
by mapping a network drive
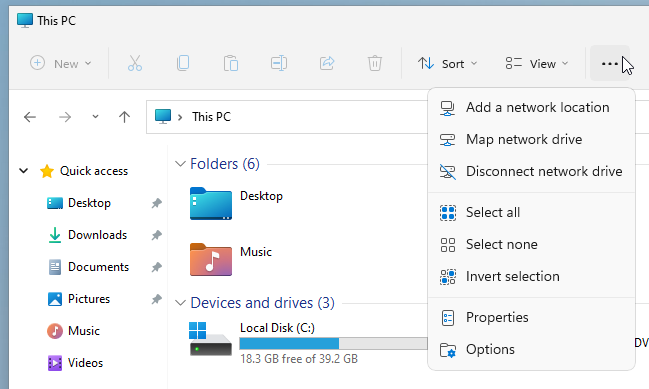
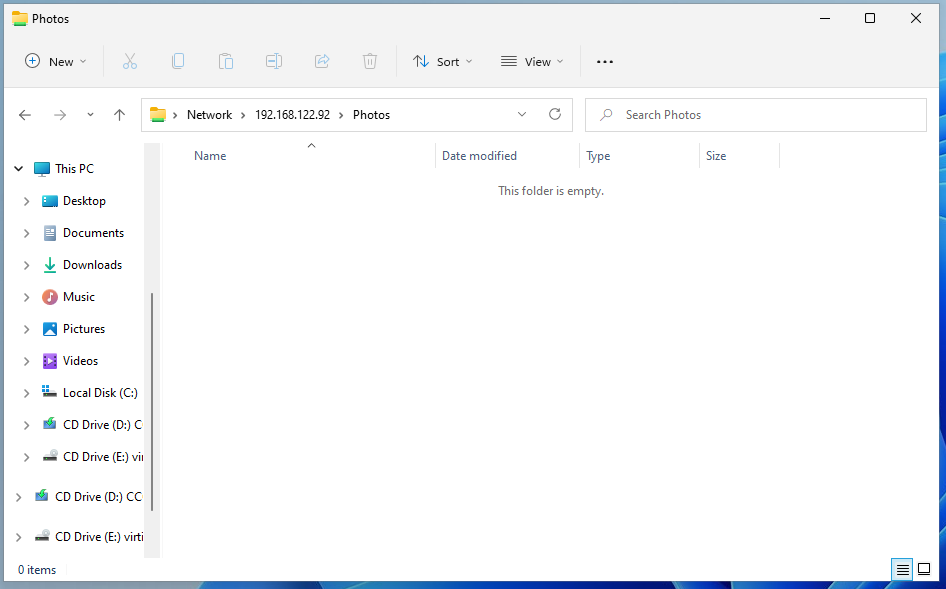
All three options can be accessed from the This PC page in Windows Explorer:
Manually entering the share’s path
In the address bar, simply enter the path to your Rockstor share using the the following format:
\\<rockstor-appliance-ip>\<share-name>
In our Photos share example, this corresponds to:

Press Enter and you will then be presented with a prompt for the username and password. As we set up the Photos share to be accessed by the user named media_user, we will enter their login name and password:
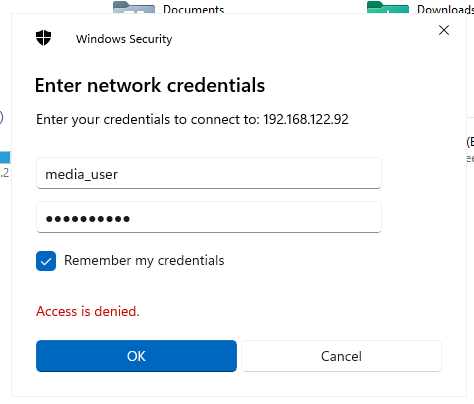
Note
The domain name is defaulted to your machine name. Enter DOMAINNAMEusername
in the username field to use an alternative domain name (such as an AD
domain, for instance).
Check Remember my credentials, and click OK. Windows Explorer will then attempt to connect to the Rockstor appliance, and if successful, you will be able to see the content of the Photos share available on Rockstor.
Adding a network location
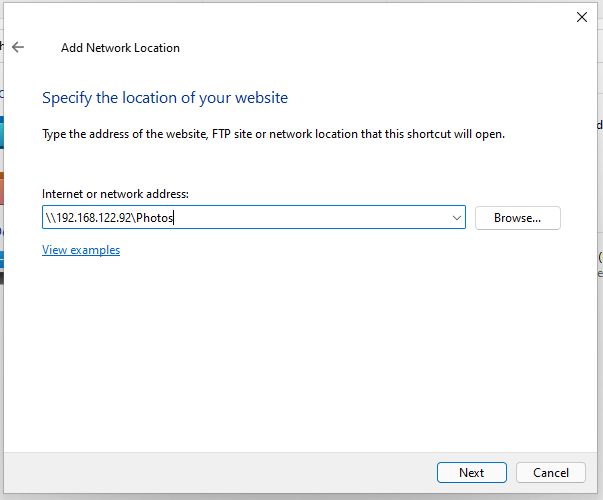
In the Windows Explorer menu, click Add a network location. This will open a dedicated wizard. When asked for the address of the network location, enter the address of the Rockstor share using the following format:
\\<rockstor-appliance-ip>\<share-name>
In our Photos share example, this corresponds to:
Click Next. When asked for credentials, use the corresponding username and password. As we set up the Photos share to be accessed by the user named media_user, we will enter their login name and password:
Note
The domain name is defaulted to your machine name. Enter DOMAINNAMEusername
in the username field to use an alternative domain name (such as an AD
domain, for instance).
Check Remember my credentials, and click OK.
You will then be asked to enter a name of your choice for this share. This will be the display name of this share in Windows and will not affect the name of the share in Rockstor. You can thus enter any name or description you would like. We thus recommend using a short and explicit name. In our Photos example, this could thus be:
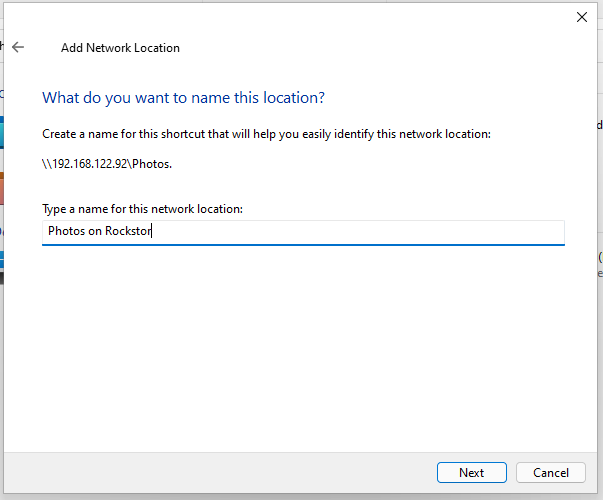
Click Next and complete the wizard; you should now be able to copy to and access files on this share.
Map a network drive
In the Windows Explorer menu, click Map network drive. This will open a dedicated wizard. When asked for the address of the network location, enter the address of the Rockstor share using the following format:
\\<rockstor-appliance-ip>\<share-name>
In our Photos share example, this corresponds to:
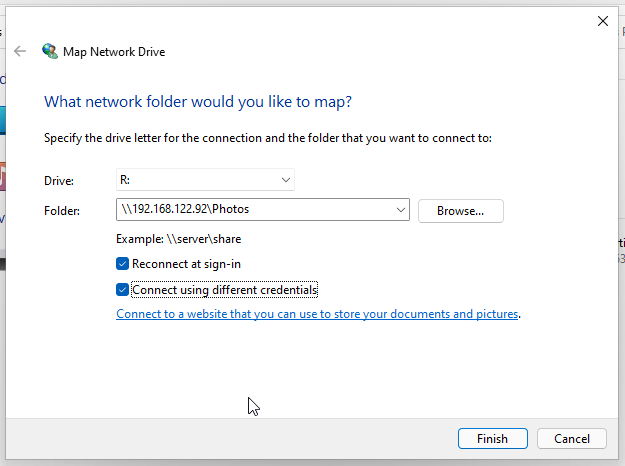
Click Next. When asked for credentials, use the corresponding username and password. As we set up the Photos share to be accessed by the user named media_user, we will enter their login name and password:
Note
The domain name is defaulted to your machine name. Enter DOMAINNAMEusername
in the username field to use an alternative domain name (such as an AD
domain, for instance).
Check Remember my credentials, and click OK.
Click Next and complete the wizard; you should now be able to copy to and access files on this share.
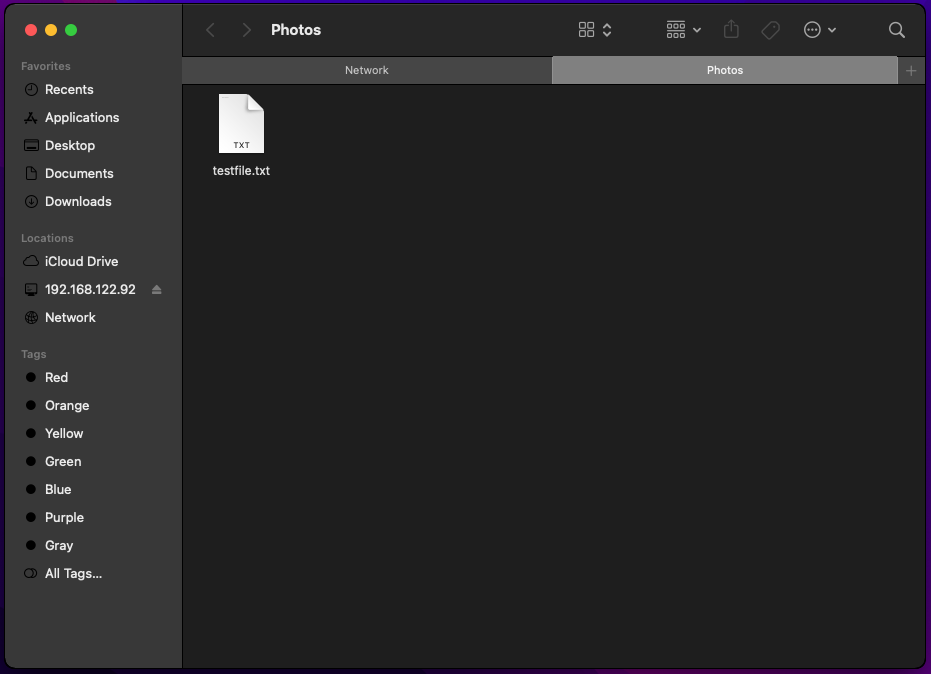
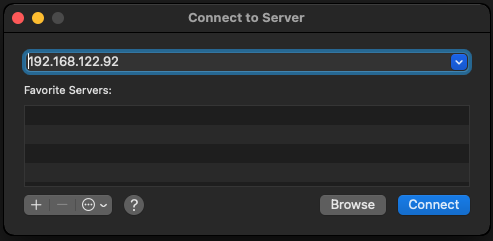
From mac OS
On your Mac, open the Finder, and select Go -> Connect to Server. In the address field, type in the address of your Rockstor appliance. In our Photos example, this corresponds to:
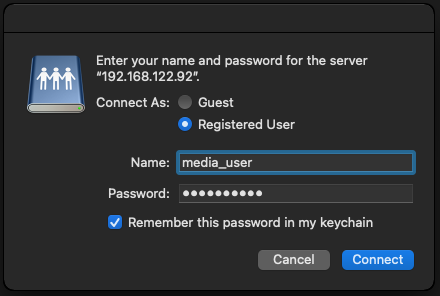
Click Connect. Finder will connect to the Rockstor appliance, and will present you with a login prompt. Enter the username and password of a user who has permission to access the share. Select Remember this password in my keychain, if you want the connection to be stored, and click Connect. In our Photos example, this corresponds to:
If successful, a list of available shares will be displayed. Simply select your desired share and click OK.
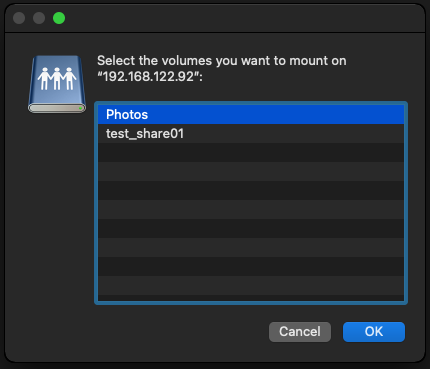
Your Samba export will now be opened and accessible in the left sidebar.