Warning
Note: Following the loss of support for AFP in newer macOS versions, the AFP service is no longer supported as of Rockstor-3.9.2-56. We thus recommend users to use the Samba service instead (see this forum post for details).
Apple Filing Protocol (AFP)
An Apple / OSX native network sharing system akin to Samba/CIFS from MS Windows and Network File System (NFS) from Unix. However as of OSX 10.9 Mavericks and 10.10 Yosemite the default network sharing protocol in OSX is SMB/CIFS (apple reference). However AFP is still enabled by default and if SMB is not available then AFP is used. AFP is also necessary for network based Time Machine backups.
Time Machine
Time Machine is the built in backup system in Apple’s OSX (Operating System 10). It is a requirement of Time Machine that network volumes be over AFP. By way of example this document steps through the configuration of a Time Machine compatible network volume hosted on Rockstor and how to backup to this volume from an OSX client machine.
Creating an AFP Share
In order to establish an AFP share it is first necessary to have a pre-configured storage Pool, a share of this pool or part there of, and a Rockstor user to authenticate against this Share. Finally the Share must be exported via the AFP method. The following list details a suggested order and gives links to the documentation on each of these steps.
To create a storage pool see Creating a Pool in the Pools section.
Add a Rockstor user to match the OSX user, see the Users section.
A Share of this storage pool is then required, see Creating a share in the Pools section.
Finally this Share is exported via Add AFP Export.
The Time Machine Pool
In the following example a dedicated time_machine_pool has been created.
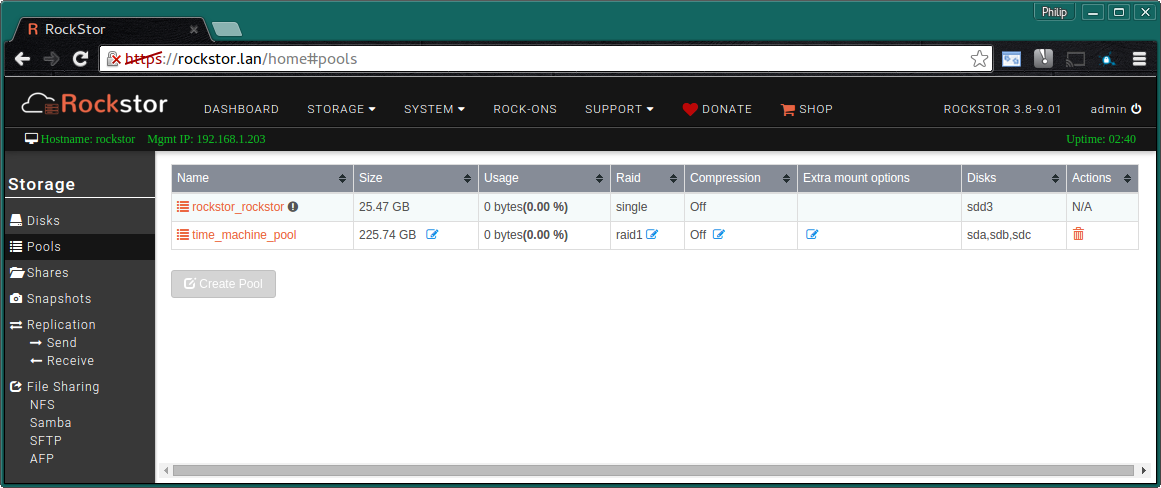
A 3 disk Raid1 pool of drives
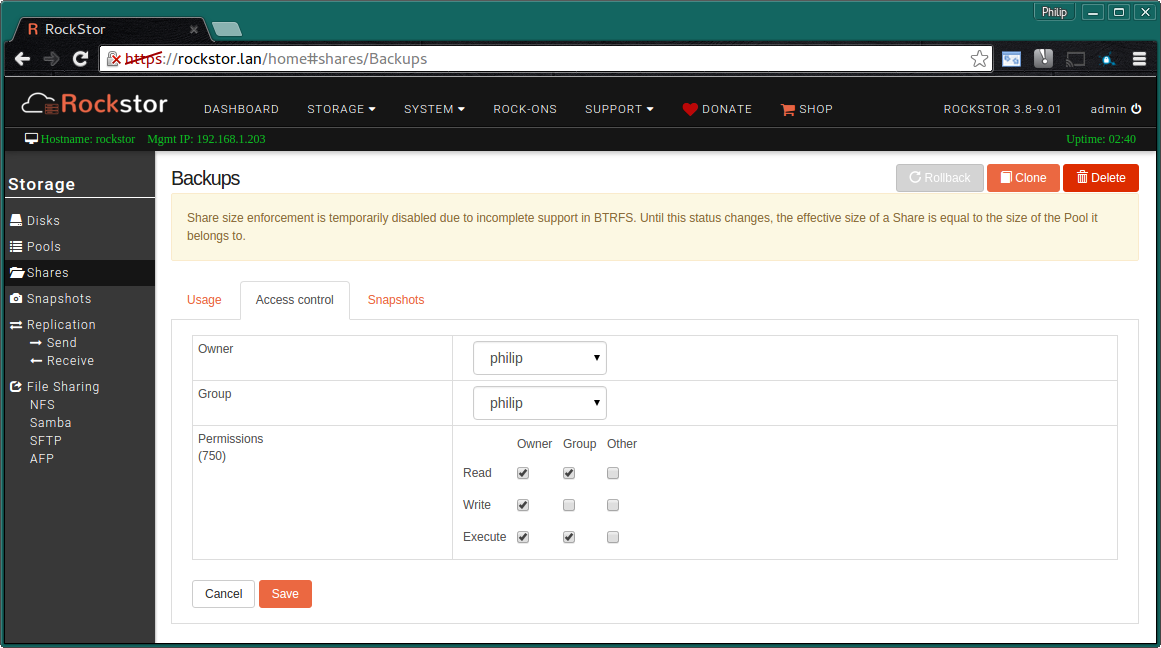
The “Backup” Share
Here a Share named Backups has been created; note that it is strongly advised that any Share to be used by Time Machine be at least 3 to 5 times the size of a single full backup. A typical OSX install before any data is 6-20 GB depending on upgrades applied etc. This makes it advisable to allocate around 30-100 GB per client machine.
In this example we have changed the owner and group of our share to that of an existing Rockstor user and removed Other users access as it is not required. Note that the Rockstor user name doesn’t have to match that of the OSX user but it is easier if it does as it will then be auto populated on the client machine.
If multiple users are required to share this Network Volume then create an appropriate group eg macuser and ensure all the Rockstor Mac users belong to this group. You can then select this group and enable group write.
Please note that if practical it is best to create one share per machine for Time Machine backups as this prevents single client machines monopolizing the available space as Time Machine defaults to using all available space and will only remove it’s own old backups when space is short; and not another machine’s or user’s backups. This results in frequently used machines backups dominating the available space and can prevent occasionally used machines from having space to do their backups.
The Access Control section of a Share also allows for setting up read only shares if this is desired.
Our Example Share named “Backups” of space provided by the “time_machine_pool”:

A 100 GB share of the time_machine_pool
Add AFP Export
Finally export the Share via the AFP entry in File Sharing. This menu entry is available in the Storage section. Note that the AFP Service will first have to be switched ON before these options are available.
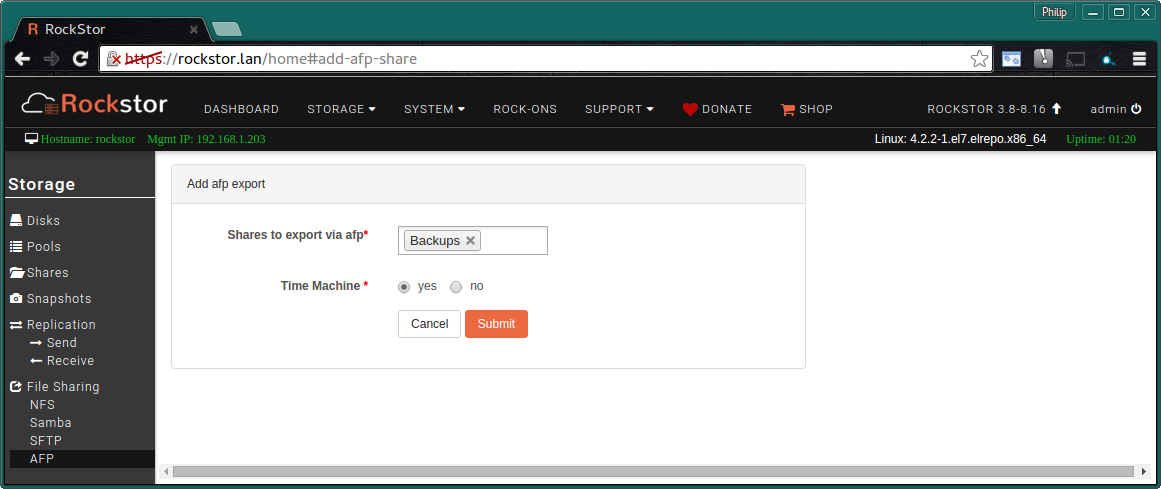
Note the Time Machine option: this defaults to off and is not required for normal AFP file sharing.
Client OSX Configuration
Having now setup an AFP share as in Creating an AFP Share we can now configure the client Mac machine/s to access it. The steps required are outlined below.
Connect to the Rockstor Share as the Rockstor user.
Select this Share Connection in Time Machine’s Preferences (if desired).
Connect to Share in Finder
The first step is to locate the Rockstor server by name under the Shared section in Finder. Here the Rockstor server was configured with the hostname “rockstor”.
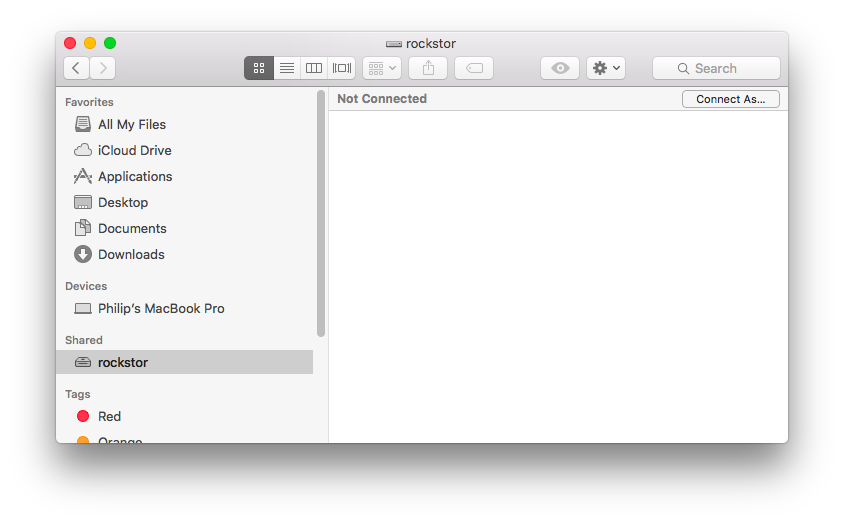
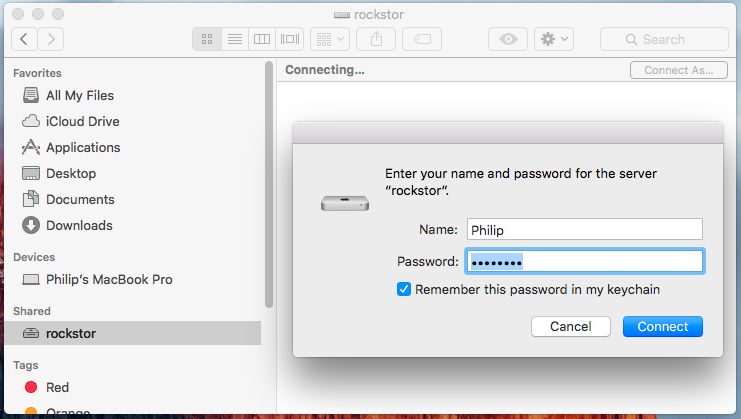
Now use the Connect As button displayed in the top right corner of the Finder right hand window. Note that you will then be required to enter the Rockstor Username and Password setup earlier. OSX may capitalize the first character but this doesn’t matter and in this example the user was auto populated as the OSX user and the Rockstor user where the same. This is not necessary but is convenient.
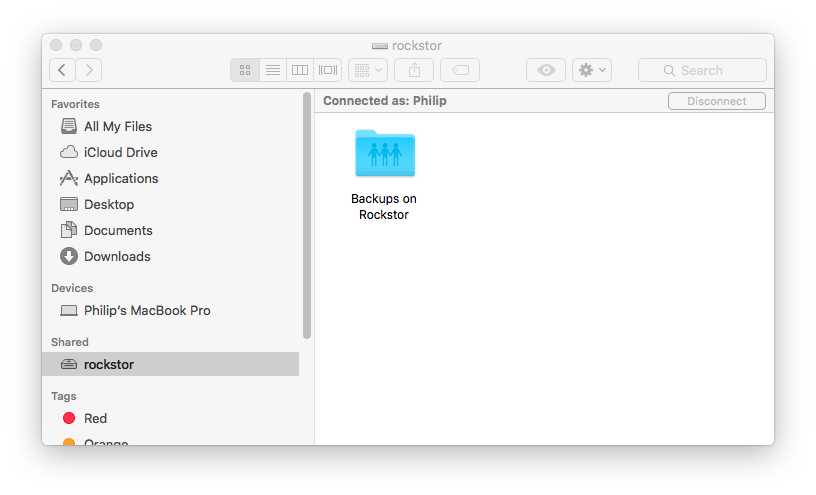
The Rockstor Share named “Backups” is now visible in Finder and ready for general purpose use, however if Time Machine was selected during the Add AFP Export section of Creating an AFP Share then this share can also be used by OSX’s Built in Backup System. See Select Share in Time Machine.
N.B. In Finder it is also possible to invoke an afp type network connection via Go then Connect to Server menu options (Option + K). Then enter afp://philip@rockstor where philip is the user and rockstor is the hostname of the rockstor system. On some setups this may be required to ensure an afp rather than an smb type connection. A dialog will then present the available shares. Note right click Get Info to examine the nature of an established connection.
Select Share in Time Machine
Now open Time Machine Preferences either by right clicking on it’s icon in the top bar (a analogue clock with an arrow around it) or by opening System Preferences and selecting Time Machine.
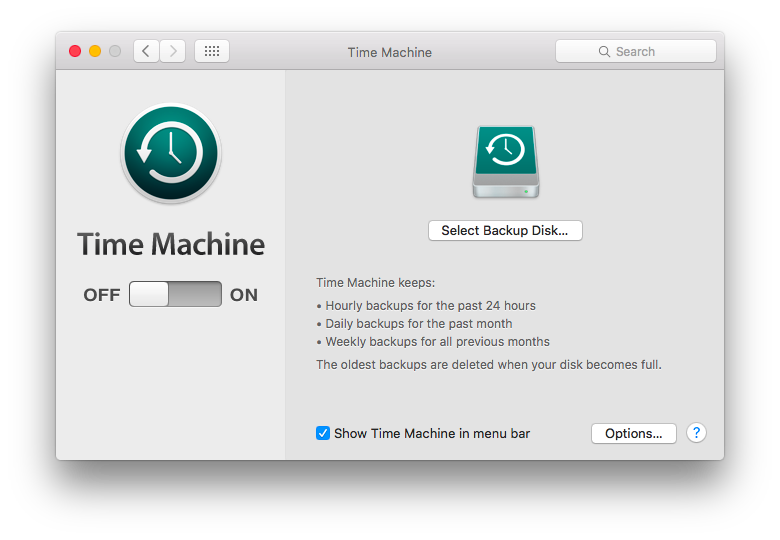
In the following image we see Finder’s connection to the share on the left and Time Machine offering this same Share as a storage option on the right.

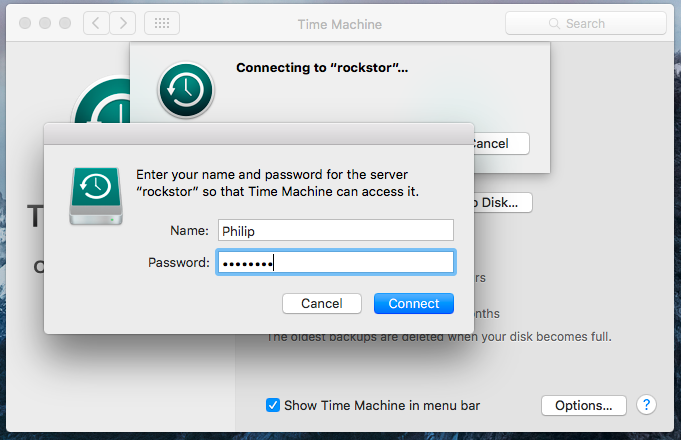
Note that it will be required to Re-enter the Rockstor user and password after having clicked on the Use Disk button.
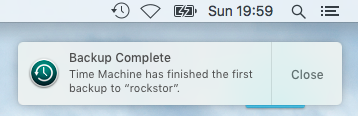
Time Machine should now default to ON and begin it’s first backup. The first backup will take longer that subsequent backups due to initialization tasks. A progress bar and the estimated time remaining should be displayed shortly after the initialization tasks have completed.
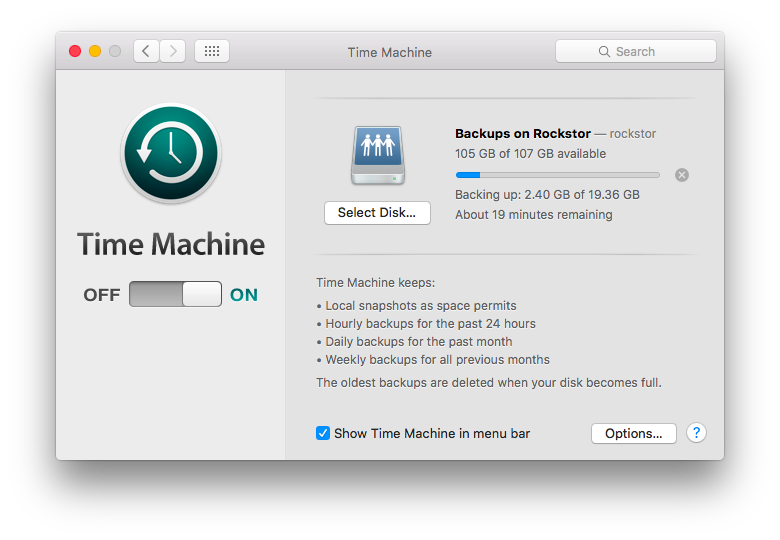
In El Capitan (OSX 10.11) a notification will be issued upon Time Machine’s completion. All versions of OSX should indicate the last successful Time Machine backup in the Time Machine Preferences dialog.