Plex Server Rock-on
Please be aware of the common prerequisites for all Rockstor Rock-ons (Docker Plugins); specifically the Initial Rock-ons Setup and The Rock-ons root requirement.
The Plex Media Server Rock-on forum area.
What is Plex
Plex is a centralized domestic media distribution system that acts both as a DLNA server and as its own more flexible type of media server and client system. Plex client apps are available on nearly every platform. But in order to manage media with the Plex system it is first necessary to have a Plex Media Server. This Rock-on is exactly that; and aims to make the install and media provisioning of a Plex server as simple as possible.
Plex Documentation
Plex’s own documentation is extensive and well presented and a good kicking off point might well be their Getting Started guide that has a thorough Step by Step introductions to the Plex system. Also note that the Plex Media Server requires your media to be organized in a certain way.
Installing Plex Rock-on
First please consider the pre-requisites for any Rockstor Rock-on; these are linked to at the top of this document. The Plex Rock-on requires a share for the media it is going to manage and a share to store its configuration files.
Note
Plex optionally offers the configuration to use hardware-based transcoding capabilities. This Rock-on supports Intel’s Quick Sync capabilities. To determine whether the (Intel) CPU used in the Rockstor installation supports Quick Sync, refer to Intel’s Product Specifications
If this is desired, another share needs to be created for temporary storage while transcoding takes place. The transcoding share should be housed on the fastest Pool or disk that is managed by Rockstor to minimize performance bottlenecks. Alternatively, the command line can be used to determine whether Quick Sync is available: essentially by checking to see if the Kernel module i915 is being used. Using the command below
lsmod | grep i915
should return some results containing i915 indicating that the system/CPU supports Quick Sync transcoding.
This makes a total of up to 3 shares to split the Plex config, data, and optional transcoding working area. As with every Rockon, the shares should be created prior to starting the installation.
Note
It is also recommended that this Rock-on be run by a dedicated user and that the above shares be owned by that user. This Rockon allows for selecting a non-root user. The following Plex Shares section and the later Plex Version, User and Group section detail the relevant aspects. If there is not already a non-admin non-root user under which Plex could be run, consider first creating for example a plex user (and group). See Users section for instructions.
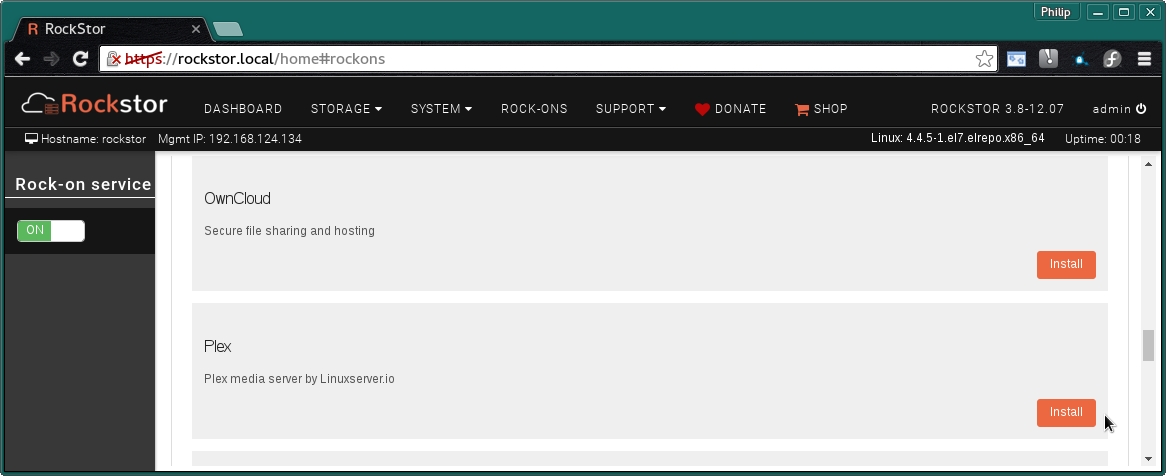
Click the Install button next to the Plex listing on the Rock-ons page.
Plex Shares
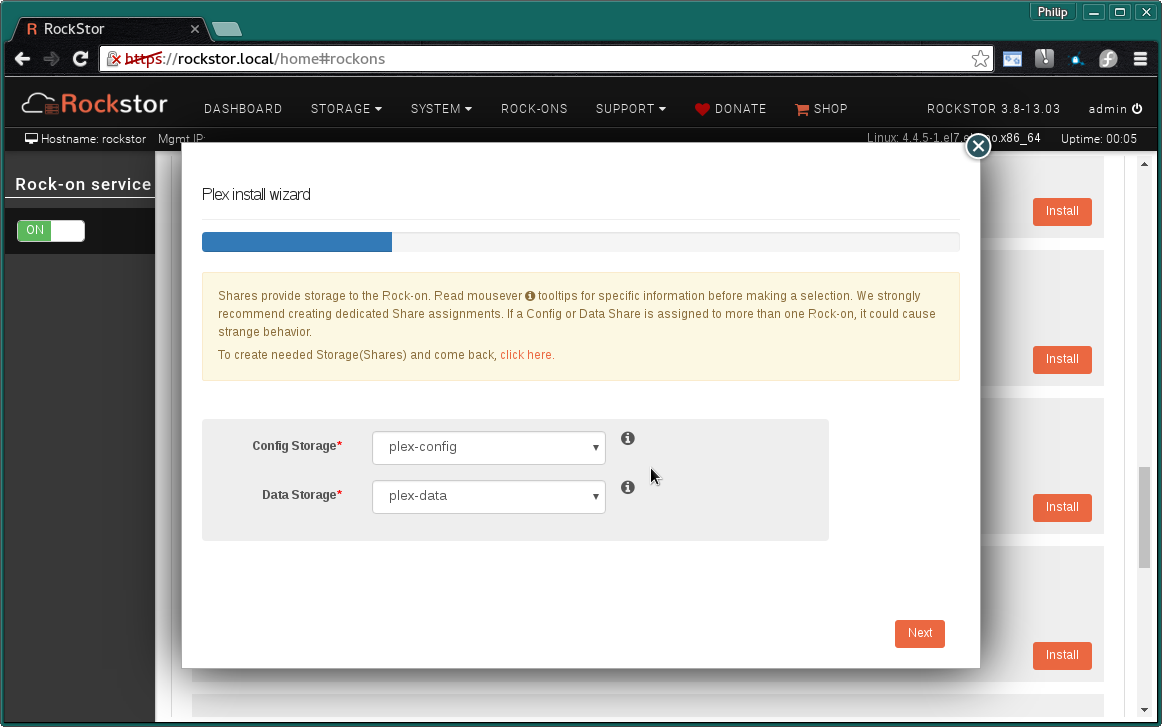
Next, select the Storage areas for the Plex Rock-on’s data and configuration files.
Some general size recommendations:
Config Storage: should be a minimum 20 GB for larger libraries
Data Storage: enough space for data and snapshots - minimum 100GB
Note
Additional information for each field can be found by hovering the mouse over the i icons.
Note
To create these Shares or ‘Storage areas’ please see Creating a share.
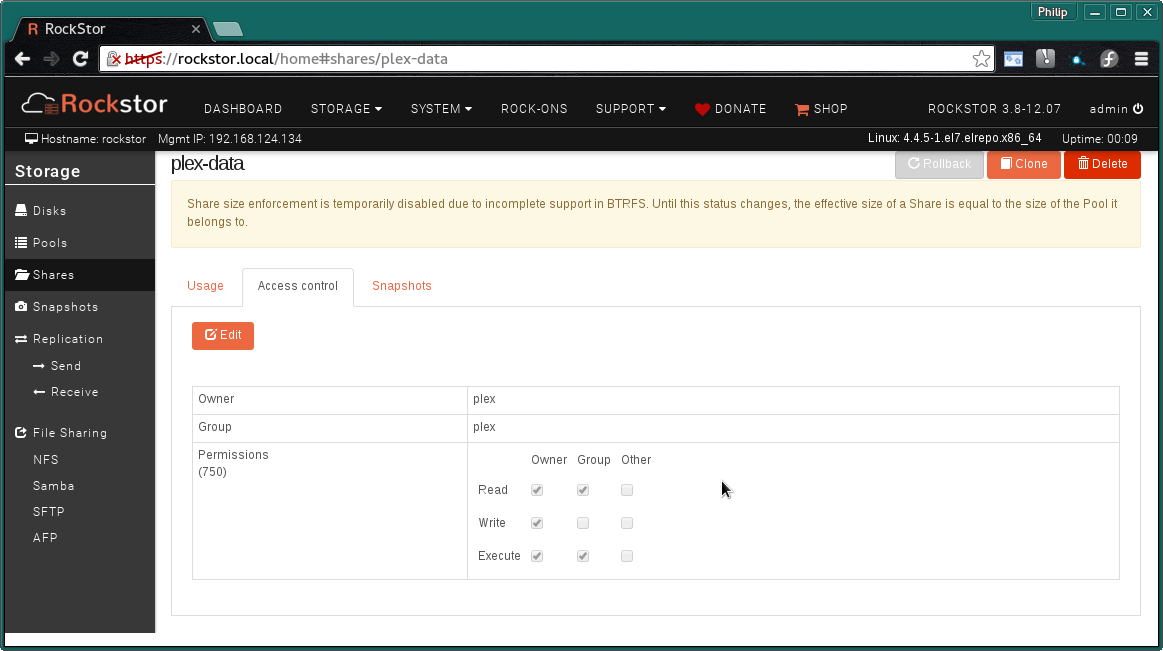
The following image illustrates an example Access Control setting for the plex-data share; the plex-config and plex-transcode can be configured similarly.
Note
Note that the plex user does not exist by default but can easily be created by following the Users part of the documentation. Please take a note of the created user’s UID and GID as they will be required in a later step.
By visiting the System - Users page one can see the UID and GID of any user.
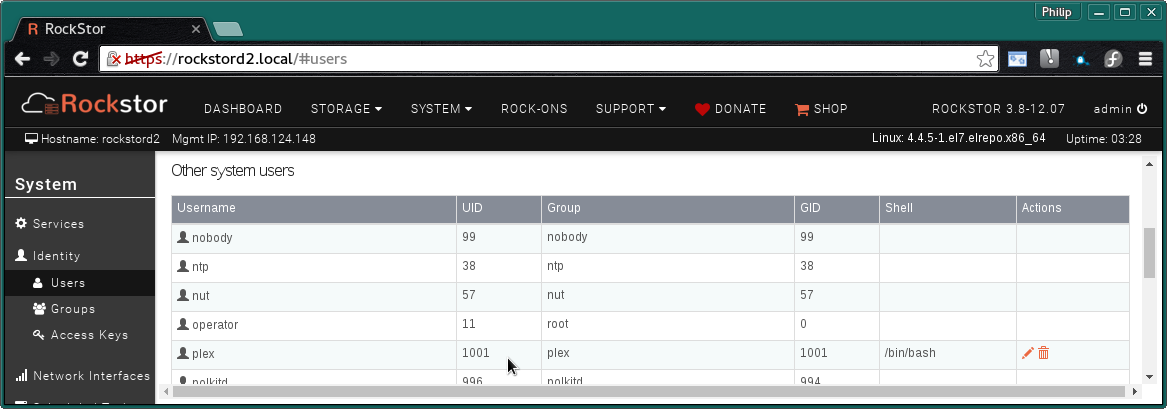
In the above example one can see our created plex user has UID and GID of 1001. Depending on whether other users and groups have been have created previously, a new plex user may have a different UID and GID.
Plex Port
This is the Default Port and it is unlikely that you will have to alter it.
WebUI port - This is the port you will use to access the Plex UI.
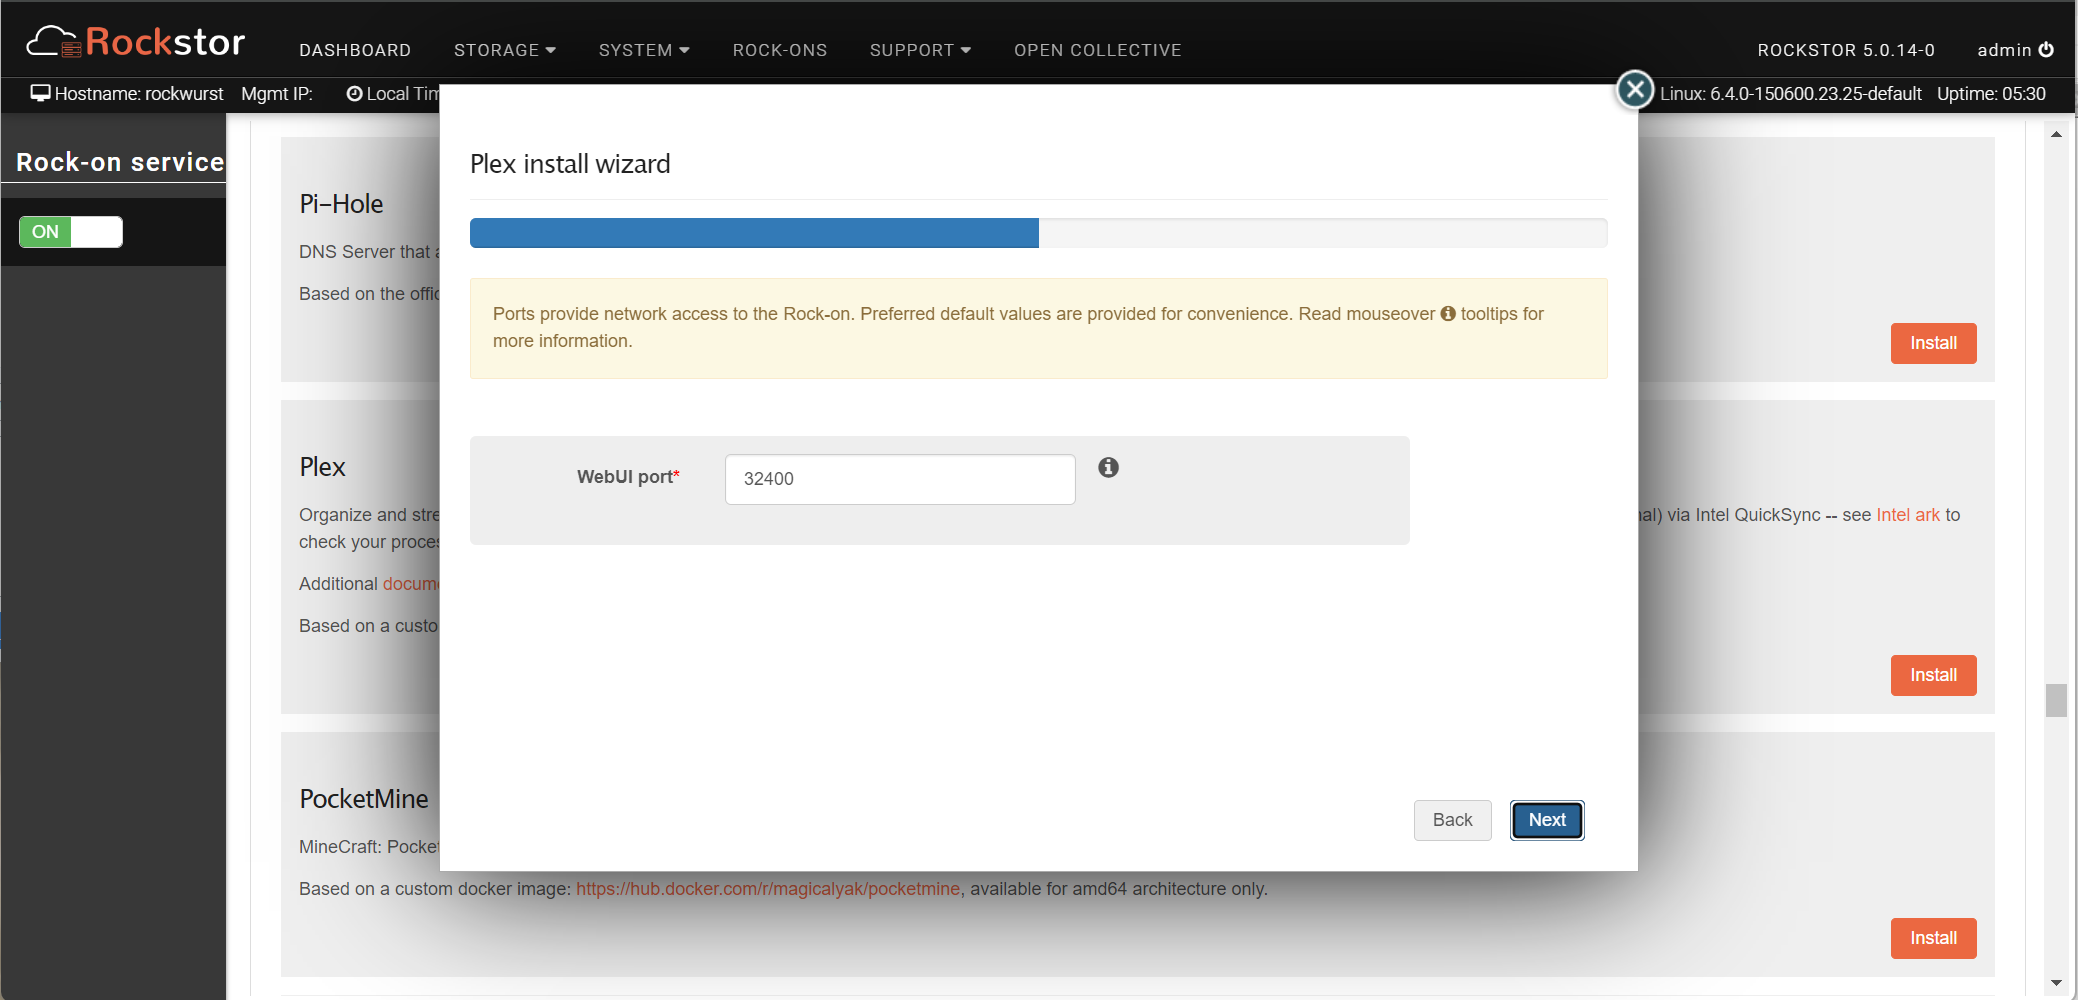
The default port 32400 is automatically populated, but can be changed.
Enable transcoding with Quick Sync
As mentioned above, CPU based transcoding can be enabled in this Rock-on. If not needed, or not possible because the CPU does not have the Quick Sync feature, the field should be left blank and the Next button can be selected. If planning on using the transcoding feature, the Quick Sync device needs to be added. This is done by typing
/dev/dri
into the field. Then proceed to the next screen.
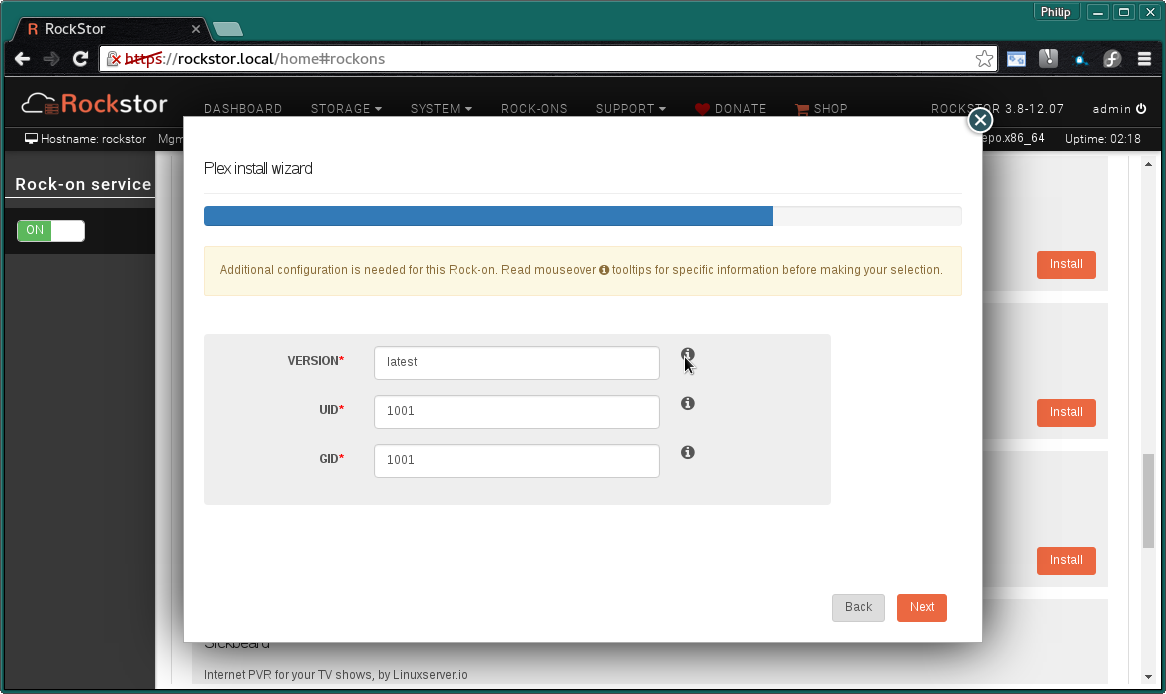
Plex Version, User and Group
In this section one selects the version of Plex to be used, as well as the UID (User ID) and the GID (Group ID) under which the Plex server will run.
Note
The UID and GID must be the same as the user/group who owns the shares configured in the Plex Shares section above.
VERSION: e.g., latest for the newest version or a specific version if so desired.
UID: User ID (number) to run Plex as.
GID Group ID (number) to run Plex as.
The next screen is a summary view of all parameters entered in the previous steps.

Check that the entered details are correct before selecting Submit.
Closing the resulting simple Installation is in progress dialog and the installation progress status is shown:
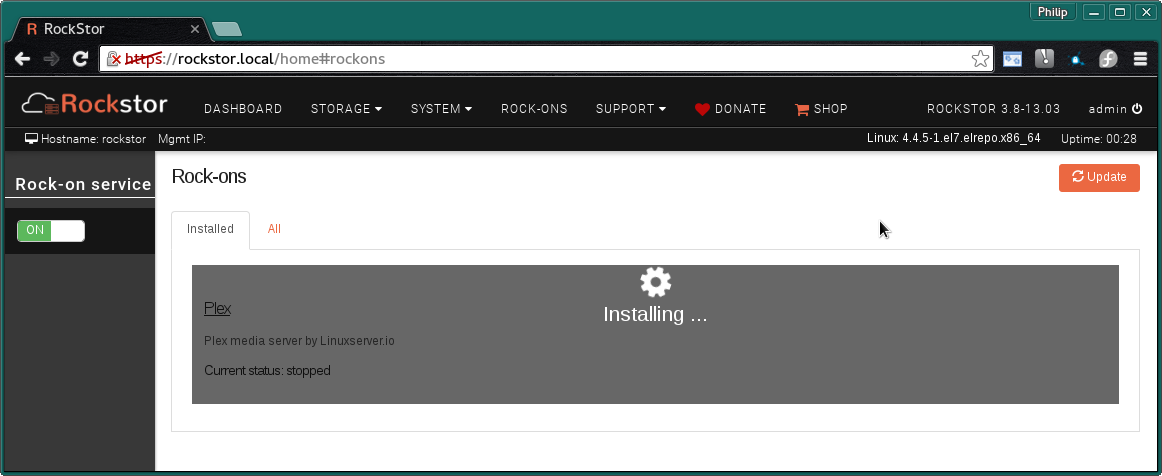
and a few minutes later depending on internet and machine speed:
The Plex Media Server Rock-on is ON

Note
Notice the Plex UI button to visit the installed Plex Web interface and the spanner icon to view the Rock-on settings and add additional Rockstor Shares.
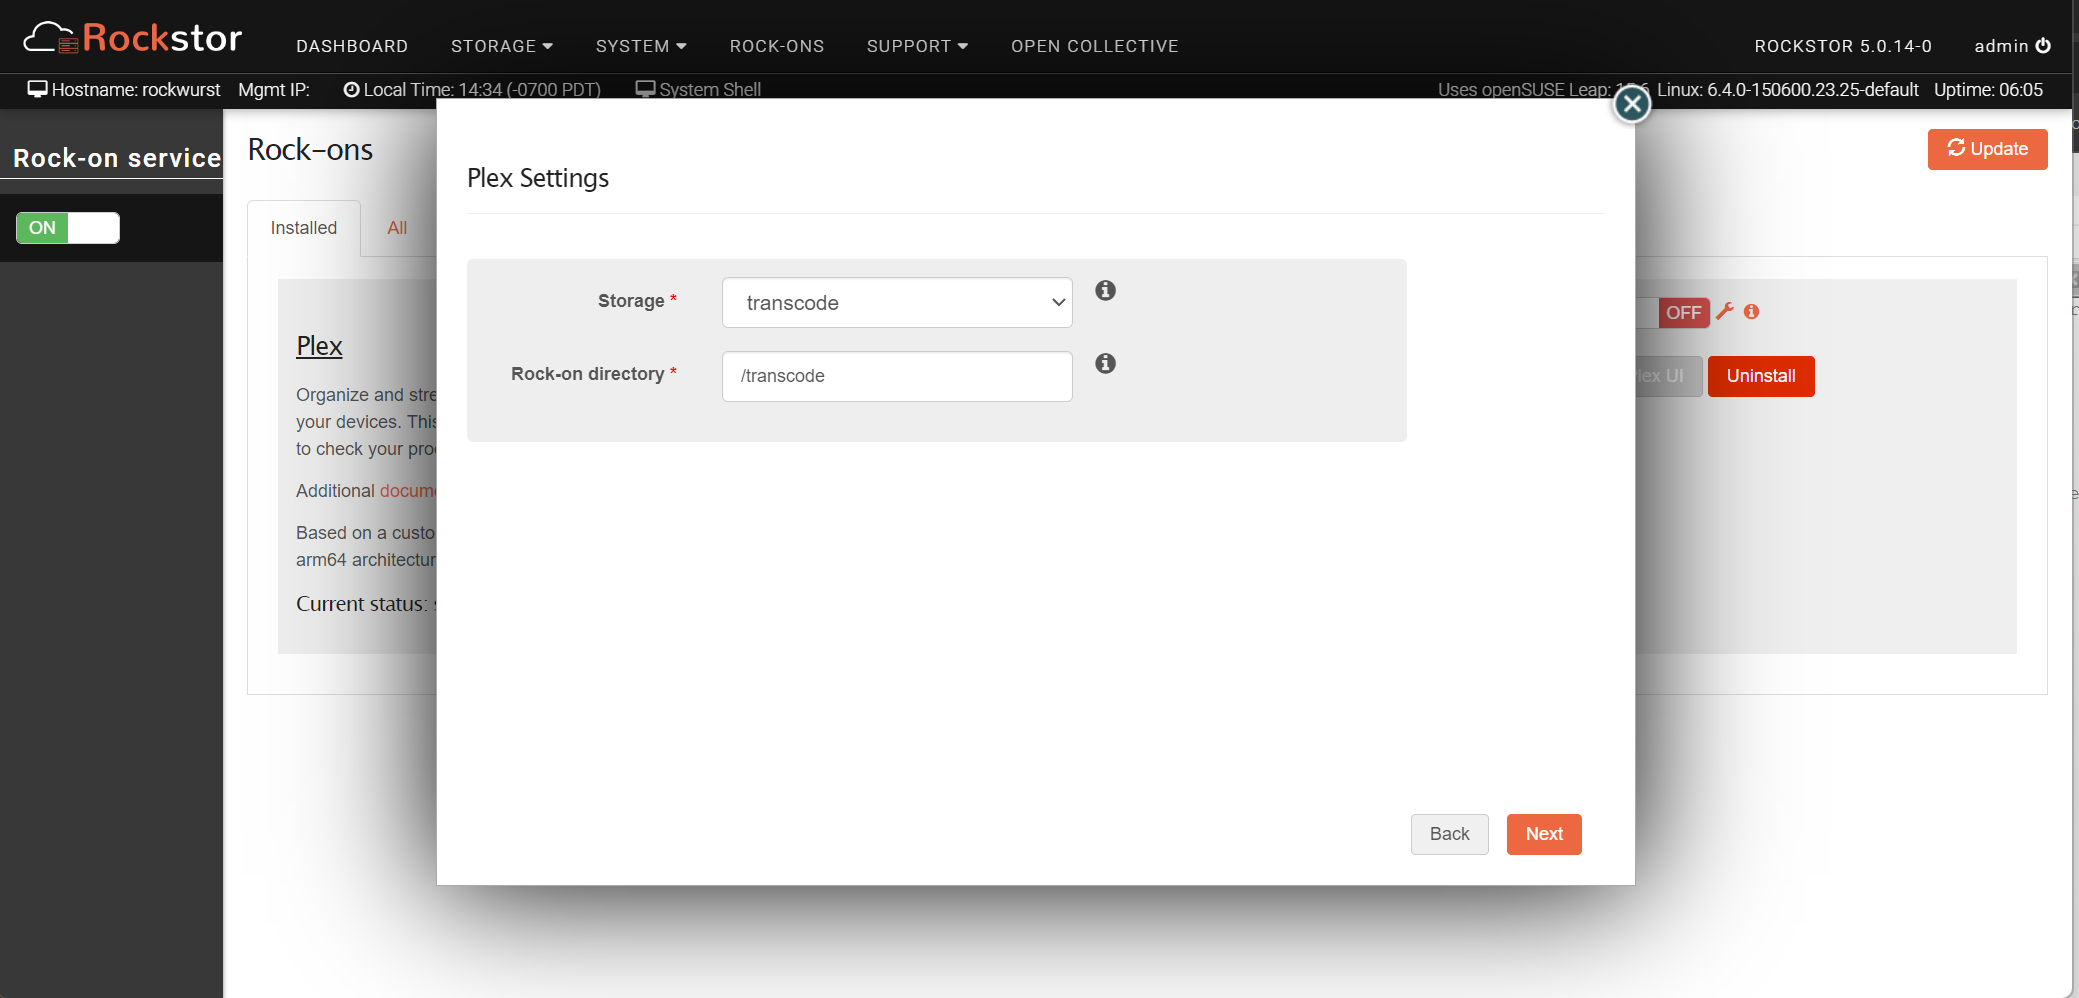
Add Transcoding Share
If CPU-based transcoding was configured Enable transcoding with Quick Sync, then the transcoding share created earlier needs to be mapped into the Rockon, so Plex can see and use it. Adding another share requires the Rockon to be turned off (but not uninstalled). Select the spanner icon that shows the configuration information in a pop-up, then select Add Storage.
Select the transcode share created earlier and populate the Rock-on directory with /transcode to complete the mapping. Then select the Next button.
Now the additional share is visible in the configuration data set:
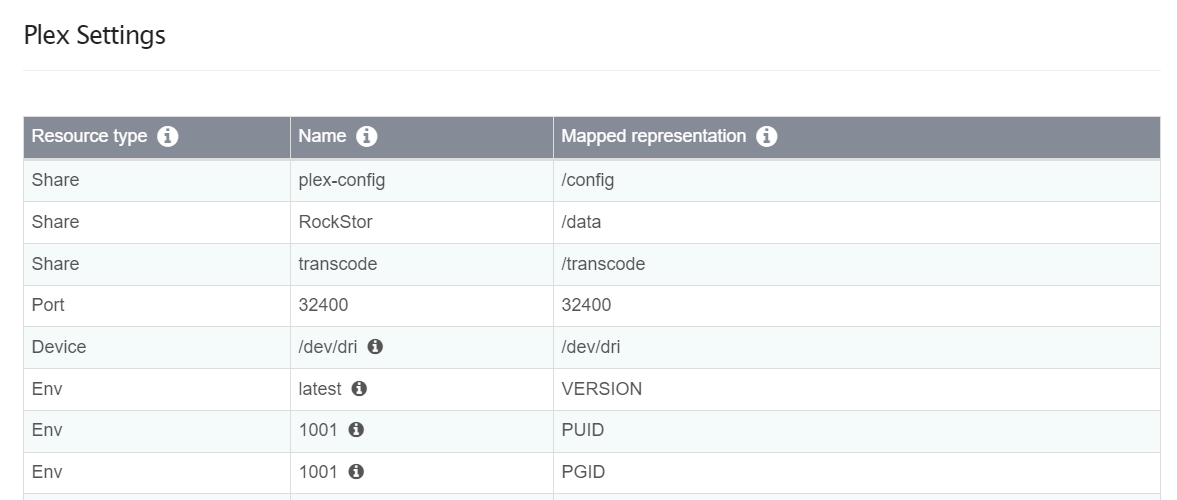
If satisfied with the settings, select Next and then Submit. This will add the new share and start the Plex Rock-on.
See the Plex support article on using Hardware-Accelerated Streaming.
Adding Other Shares to Plex
It is also possible to configure additional media shares for the Plex Rock-on to access. For example: if all movies reside in one share and all recorded TV Shows in another one. However, it is not uncommon for all of a Plex Media Server’s data to reside on a single share.
Note
Shares are not the same as the libraries within Plex, i.e., there can be multiple Plex libraries on a single Rockstor Share by using different directories within that Share. The Libraries are configured from within the Plex UI and represent how the Plex Server organizes and shares the media.
When configuring a Plex Library one can either choose an existing directory or configure a non-existing one, all from within Plex itself.
From the information dialog i icon on the Plex Rock-on listing:

The settings wizard is accessed via the spanner icon on the Plex entry on the Rock-ons page.
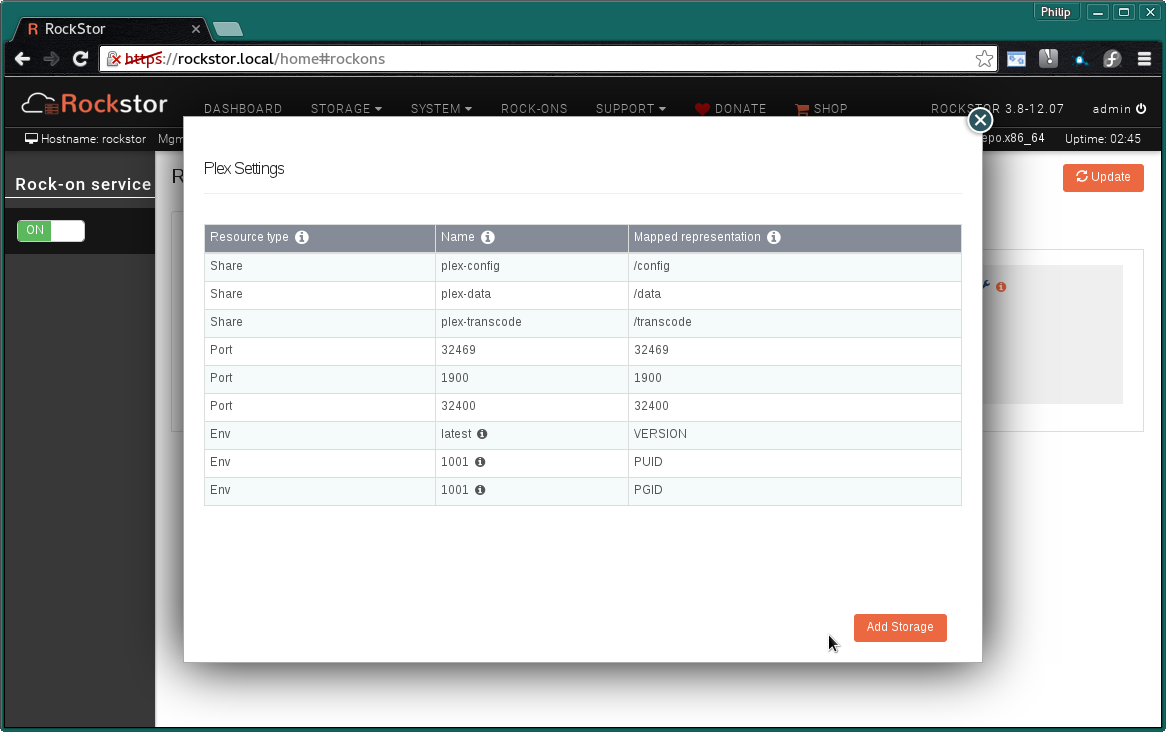
As can be seen here, there is an Add Storage button on the spanner dialog.
Plex UI
Warning
These instructions follow the screen flow at the time this document was updated. Future Plex releases might change that installation procedure again.
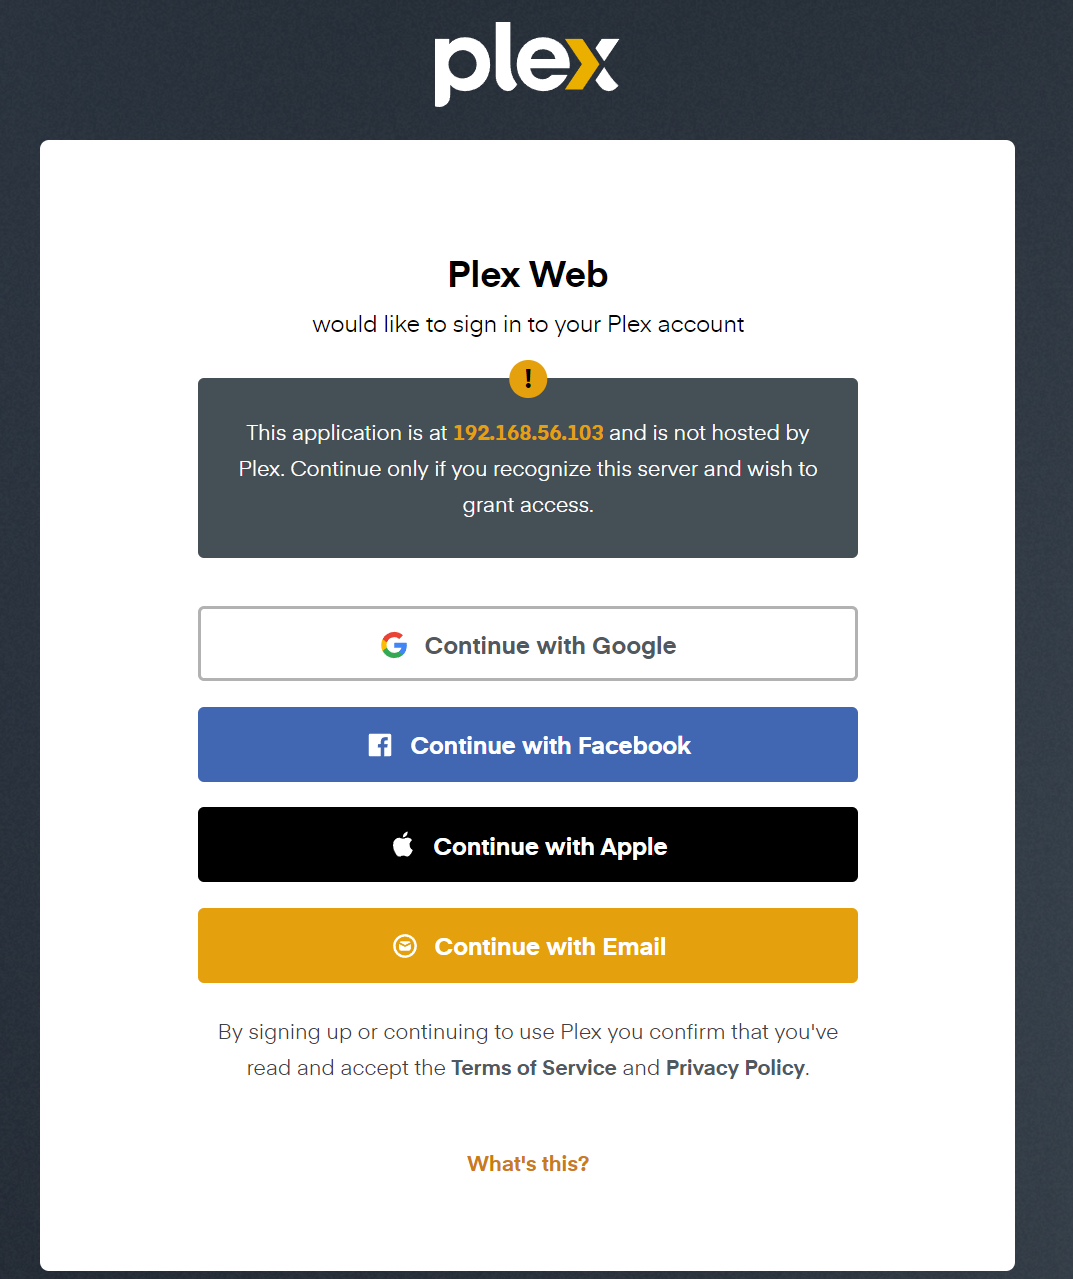
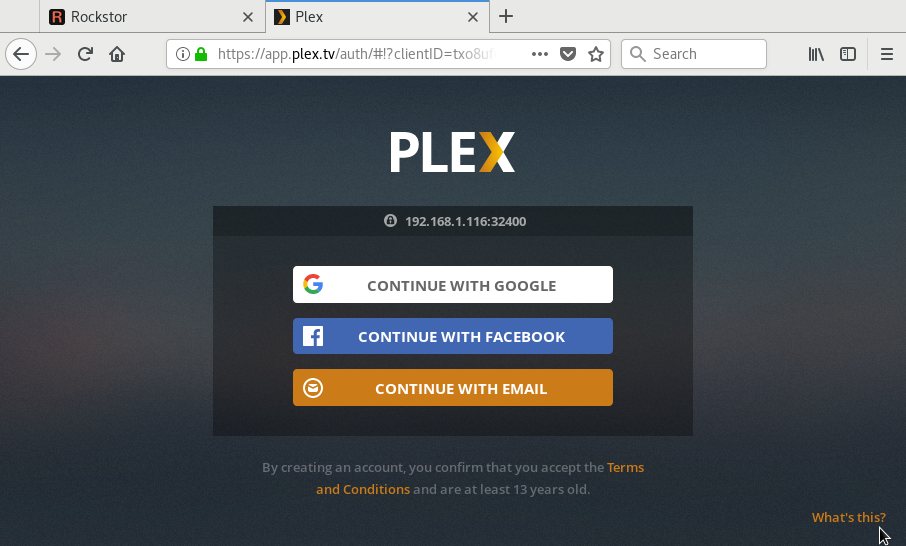
On first accessing the Plex UI via the Plex UI button on the Rock-ons page Plex requires to sign into an existing plex account:
Note
Please see Sign in to Your Plex Account for details.
Warning
However, if no account is handy, the login can be skipped by selecting the What’s this? link.
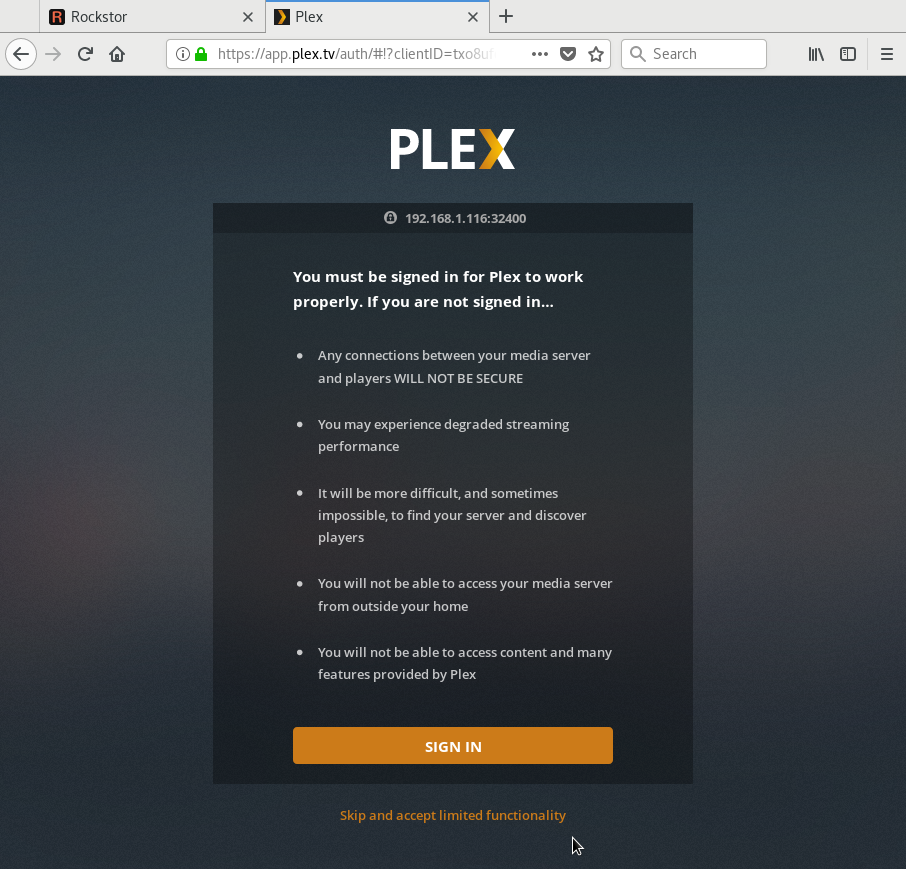
Warning
In the subsequent screen there is the option to skip first and accept limited functionality.
After an information screen is displayed (which one can cancel out of or move on), the first setup screen is displayed for the server setup.
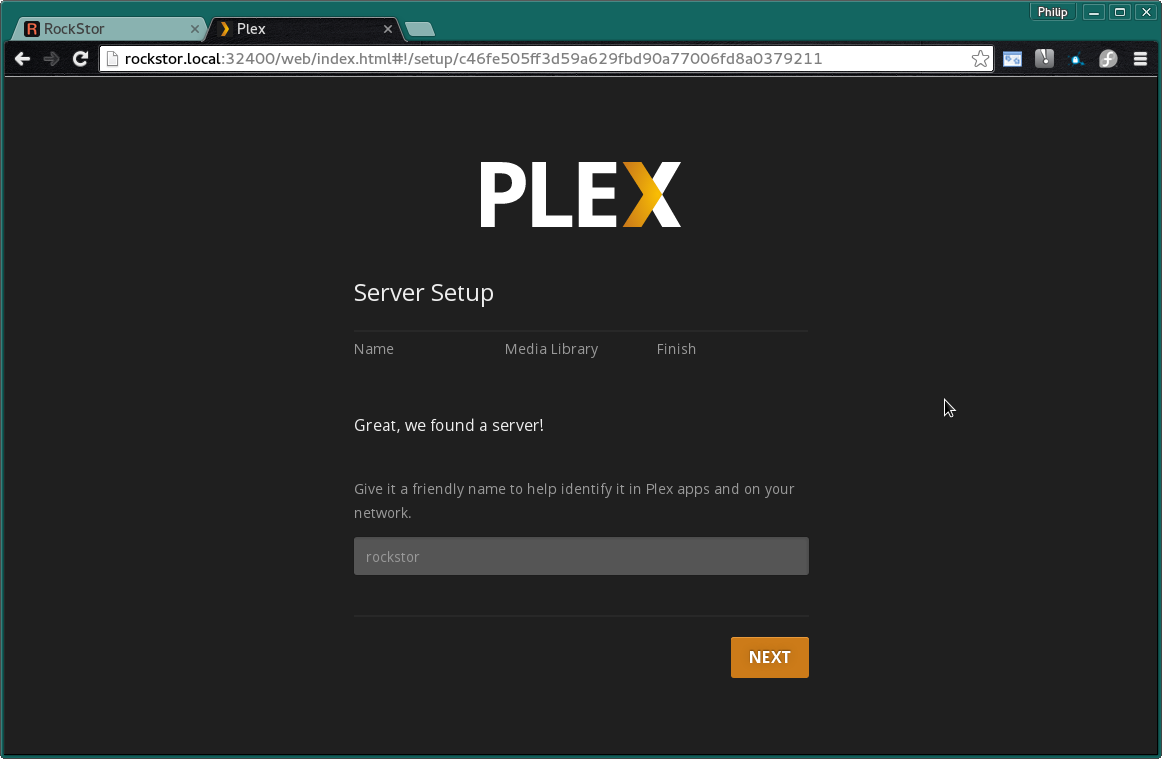
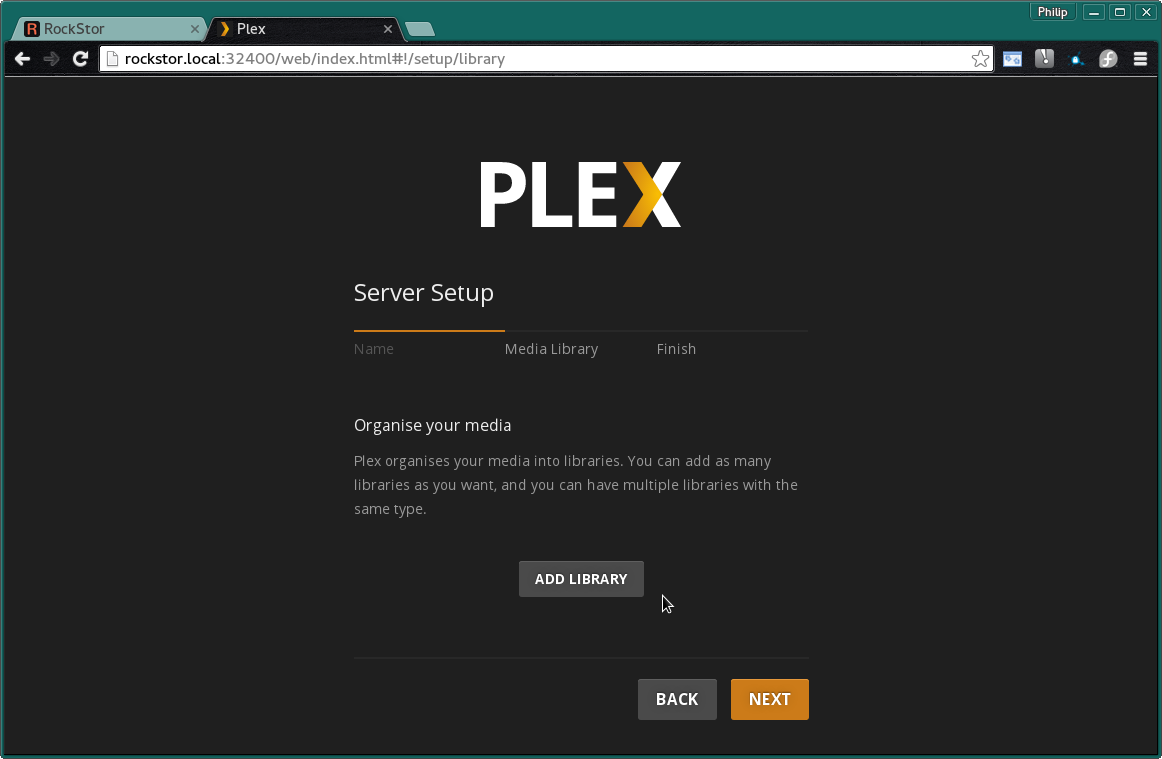
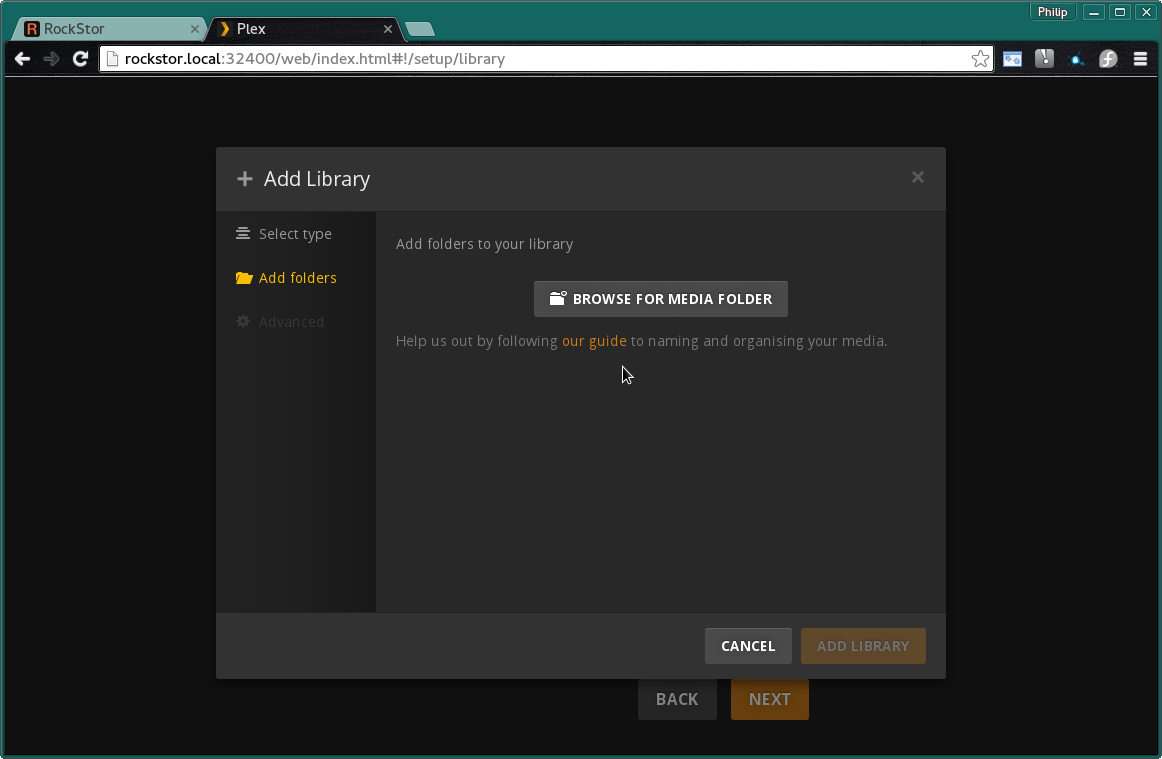
After setting the plex server name and decide whether to allow access from outside (this can be changed in detailed configuration later) the installation routine provides the option to add a library:
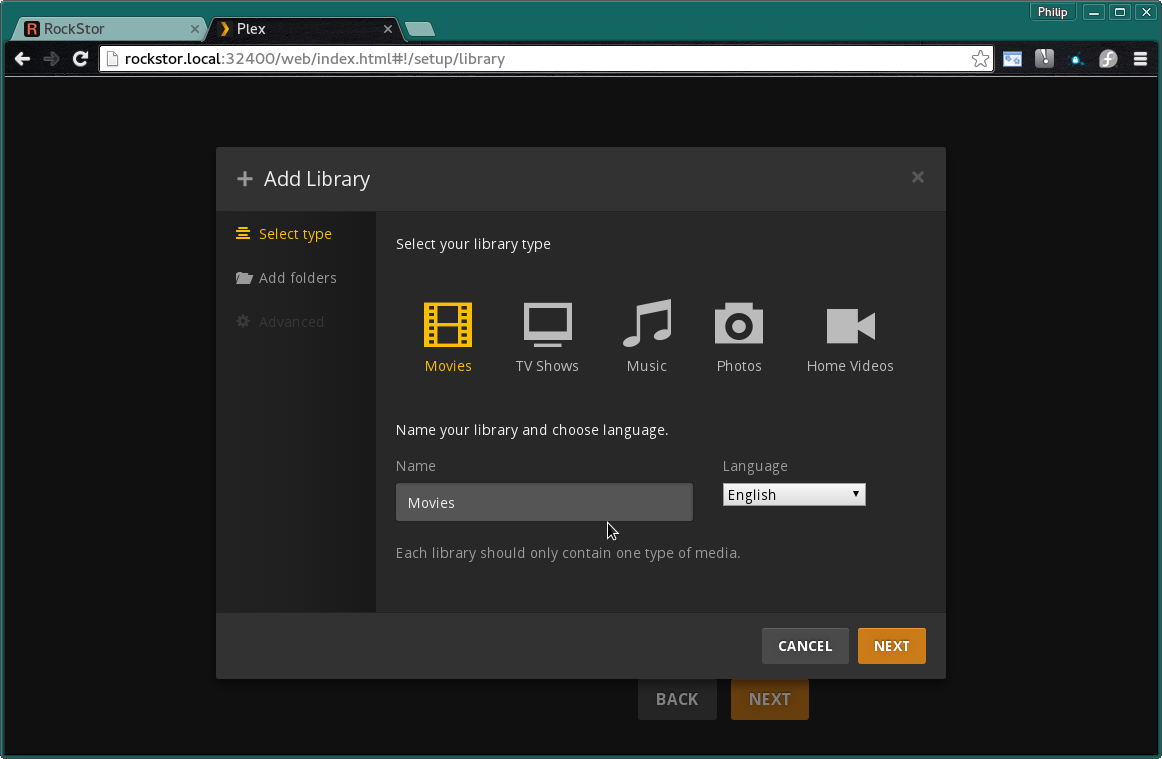
Selecting the type of media in this library is important as it defines how Plex will process and present the files found therein.
Movies: These files will be treated as commercial films and will be subject to meta data lookups.
TV Shows: Same as movies with regards to lookups but are expected to be multi-part.
Music: These files have meta data lookup executed as well as local analysis (linux only).
Photos: Treated as not having publicly available meta data.
Home Videos: Treated as not having publicly available meta data.

On selecting Movies the default name Movies and a language option is shown.
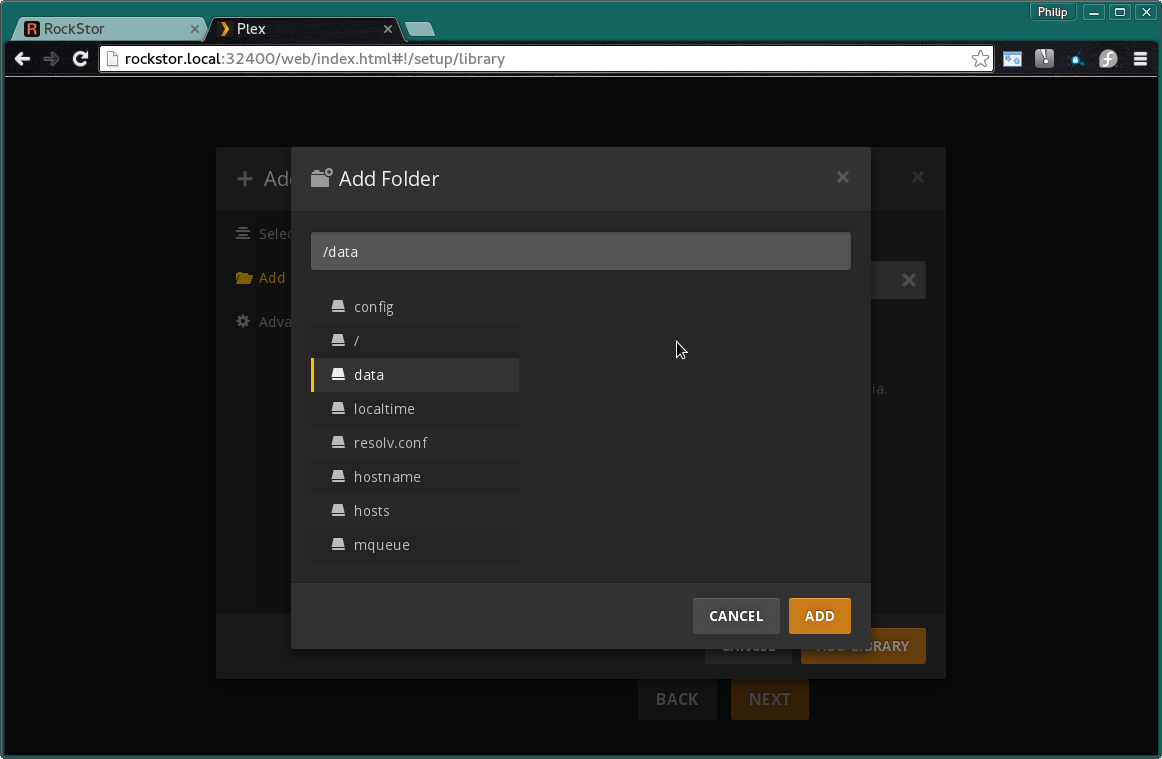
Once the Name has been confirmed a directory can be selected.
Note
As mentioned before, plex libraries can consist of multiple directories or folders as they reference them:
From the previous summary screen or via the Plex Settings panel opened via the spanner icon the plex-data Share was mapped to the data directory. As there are no other mapped shares or sub directories, the data directory is directly selected in this example.
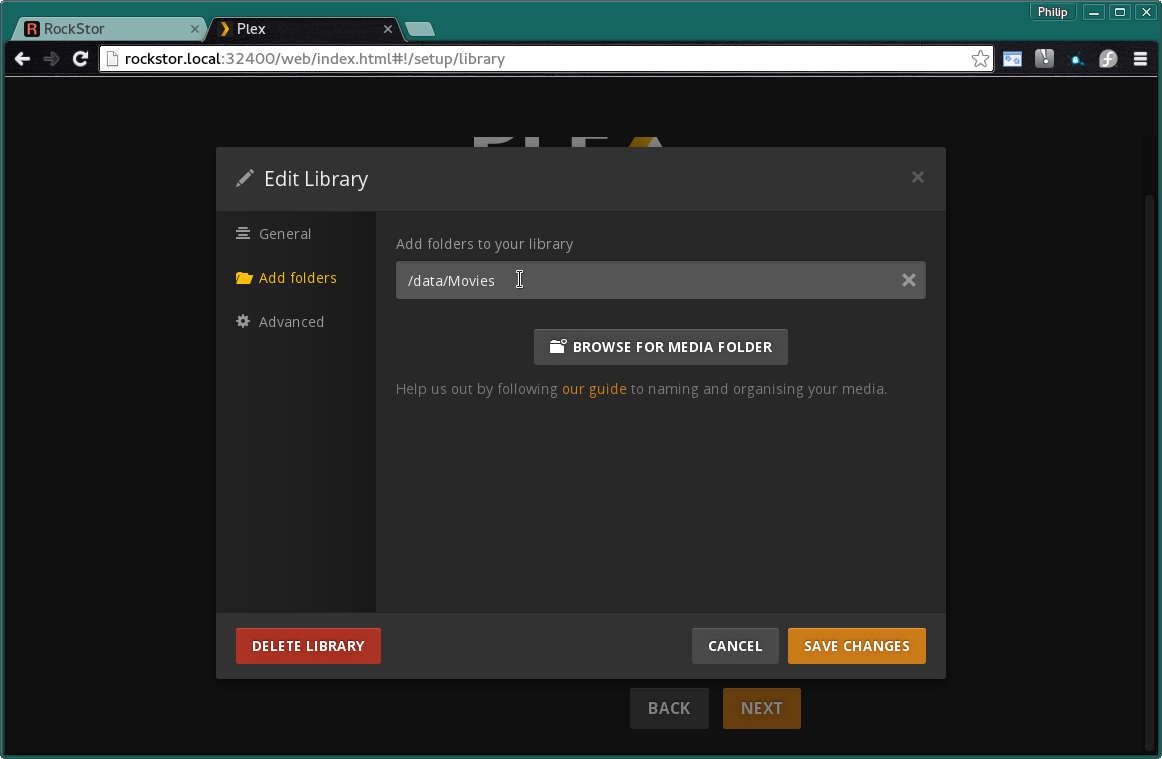
However, if it is already known what sub directory will be used (even if it has not been created yet, one could for example add Movies to the end of the selection. Make sure to create this Directory when uploading your Movies.
More plex libraries of various types and their associated directories can be setup. Once that’s done, the basic setup is complete and Plex branches to the Dasboard.
Note
To add movies to the library from an external system, simply export the plex-data share using the Rockstor UI (Samba or nfs) in order to be able to upload directly into the Plex Media Server over the local network from any machine. The Shares section contains links to methods by which this can be accomplished. The most common and compatible is probably the Samba/CIFS protocol.
More detailed Media server configuration can be found on the Plex website and the links mentioned above.
Now the Plex Media Server Rock-on should be ready to present films and music for streaming; Plex Documentation
