YouTrack Rock-on
Please be aware of the common prerequisites for all Rockstor Rock-ons (Docker Plugins); specifically the Initial Rock-ons Setup and The Rock-ons root requirement.
What is YouTrack
YouTrack is a project management tool developed by JetBrains and aimed at providing development teams with a fully-featured issue tracker. A full list and demonstration of each feature can be found on the project’s main page.
YouTrack Documentation
YouTrack’s online documentation is a good place to start along with their Getting Started guide and their Blog.
Pre-install requirements
First please consider the pre-requisites for any Rock-on; these are linked to at the top of this document. In addition, however, please note that the YouTrack Rock-on will require setting up a dedicated user as well as four dedicated shares. Note that this is in addition to the The Rock-ons root that may well already have been made.
Create a dedicated user
The YouTrack rock-on uses a specific user account to run the YouTrack service inside the container (for more information, see YouTrack’s documentation). While the name of this user account is up to the user’s preference, its UID and GID must be as follows:
UID: 13001
GID: 13001
To create such user account from Rockstor webUI, first navigate to System > Groups, and click on Add Group. Then, create a new group with the following options:
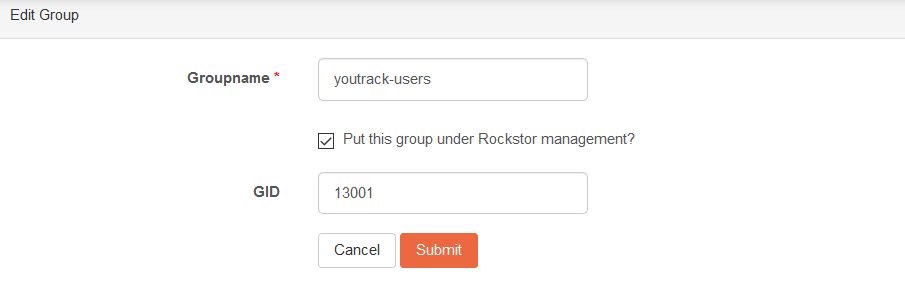
Please note that while the group name can be set to any name, the GID must be 13001. Similarly, the option to “Put this group under Rockstor management” is optional and can thus be left unchecked if preferred.
Now that we have created the appropriate group, we can create proceed with the creation of the user. To do so, navigate to System > Users, and click on Add User. Then, create a new user with the following options:
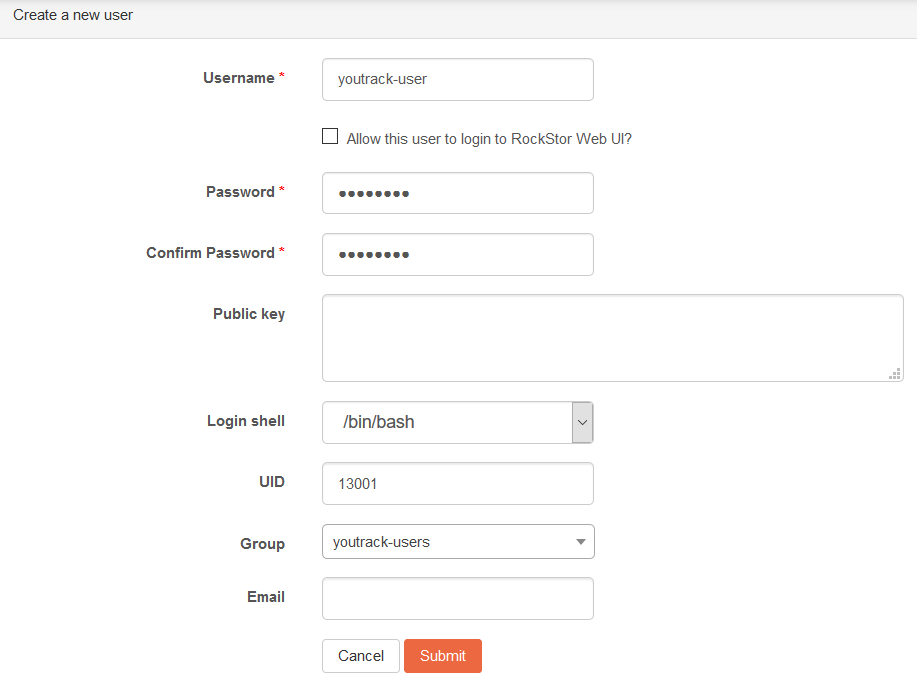
As mentioned above, all settings except the UID and Group can be chosen as desired. Indeed, the latter two must be as follows:
UID: 13001
Group: the same as created above (youtrack-users in our case)
Finally, we need to set this user as owner of all four dedicated shares created above. To do so, open each share’s detail page (see Shares section), navigate to the “Access control” tab, click “Edit”, and set the user we just created as owner. See, for instance, the screenshot below in which we set the ownership of the youtrack-backup share.
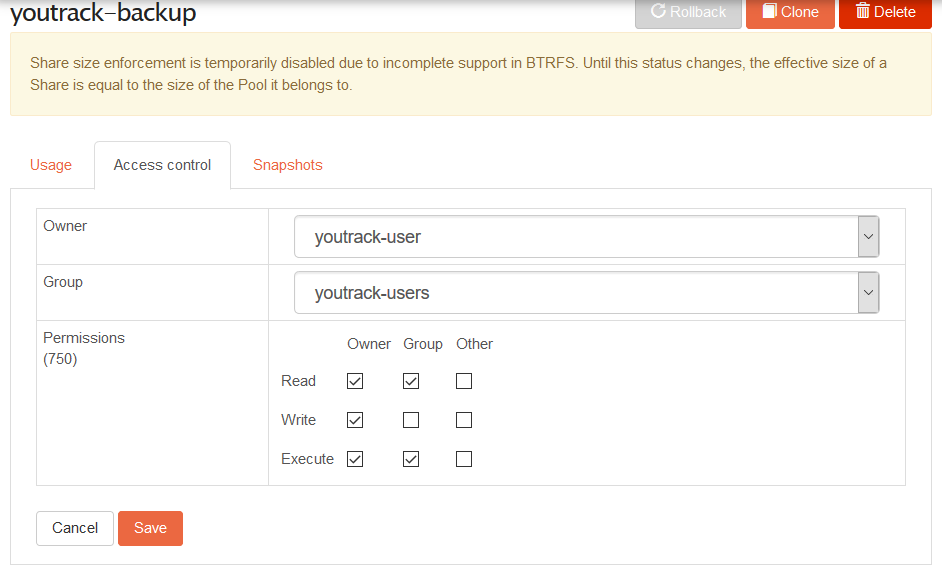
Please note in the screenshot above that we also changed the Permissions to 750 by unchecking the Read and Write permissions for Others. While this is not necessary to YouTrack’s function, it provides enhanced security and is the recommended setting in YouTrack’s documentation.
Installing YouTrack Rock-on
Before proceeding with the YouTrack rock-on installation, please ensure all steps described above have been completed (see Pre-install requirements ). Failure to do so will lead the rock-on to a continuous “restart loop” that may be difficult to correct from Rockstor webUI.
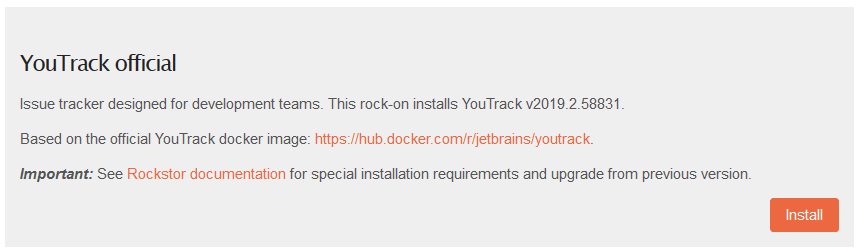
Click the Install button next to the YouTrack listing on the Rock-ons page. You will first be asked to choose a dedicated share for each volume. You can thus choose all four shares that we created previously with the correct ownership.
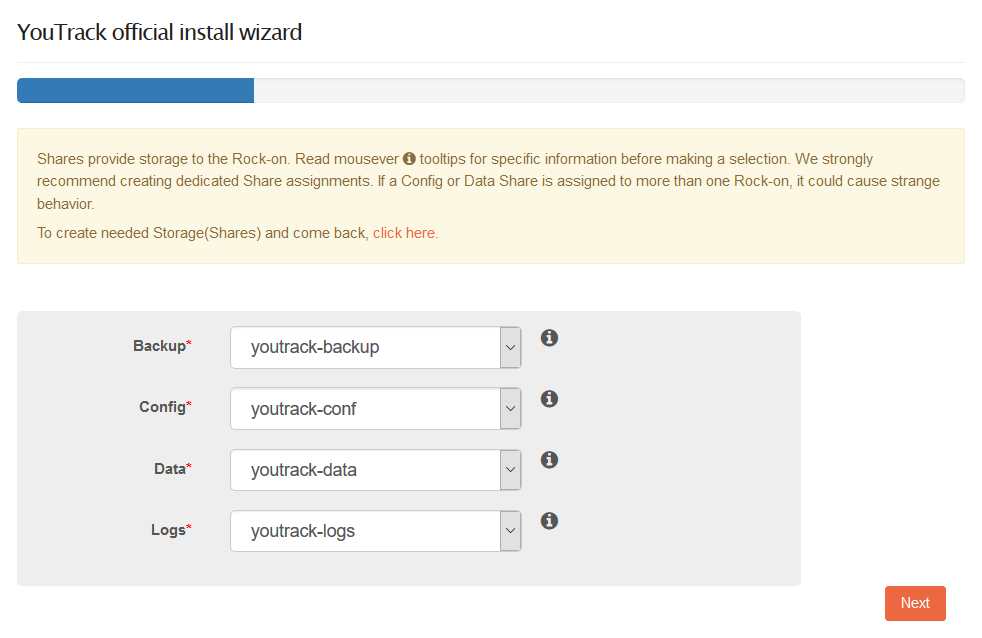
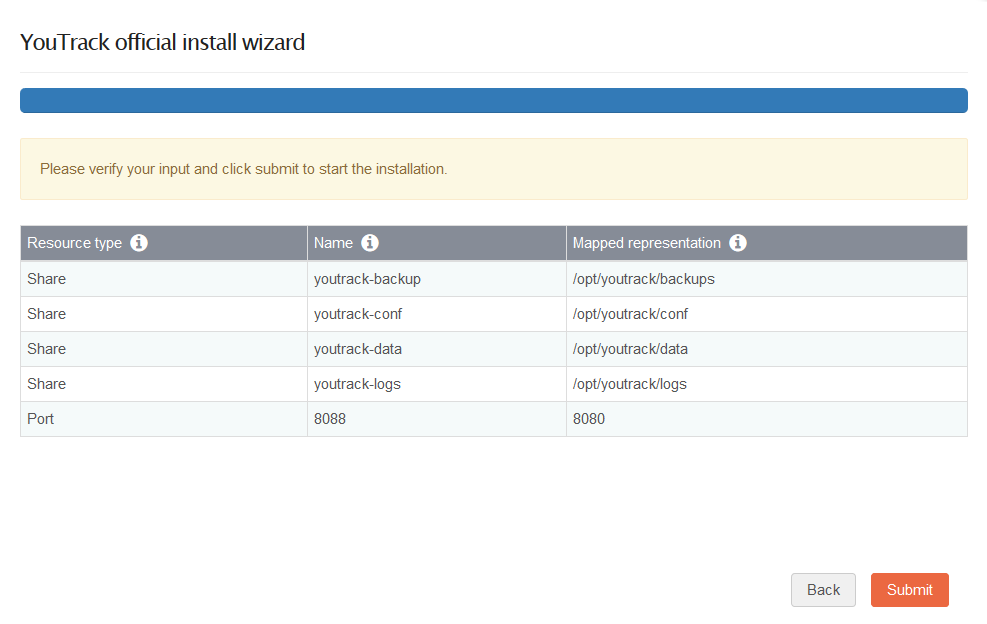
Next, you can simply leave the default port for the webUI as pre-filled by Rockstor. On the next window, verify all settings are correct and click “Submit”. Following the settings above, we have the following:
First access to YouTrack UI
Upon first installation, the YouTrack rock-on will proceed with its initialization and configuration. While most of this is automated and completed through an easy-to-use interface, a token generated during installation needs to be retrieved. This can be done with:
# cat /mnt2/youtrack-conf/internal/services/configurationWizard/wizard_token.txt
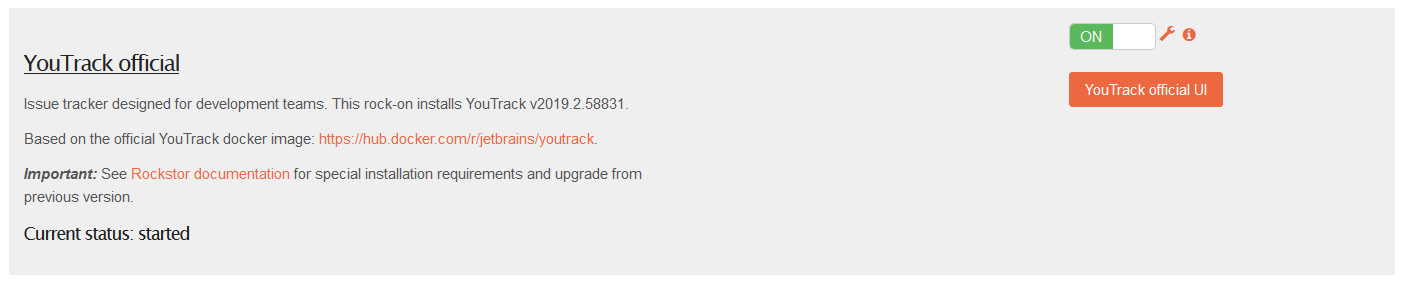
We can now click on the YouTrack UI button and start the initialization process.
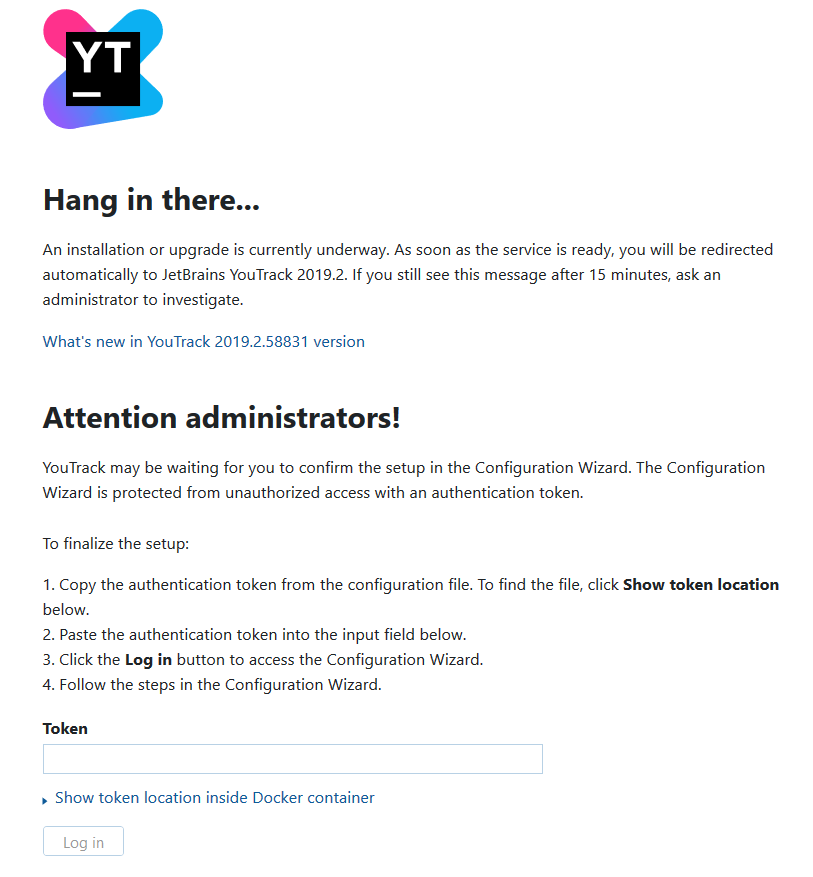
First, the YouTrack initialization and configuration will ask for the token we just gathered above.
Note that the initialization process at first install can take quite some time. Fortunately, the YouTrack UI will greet you with a proper screen informing you as such. The screen will update automatically once it is ready to proceed.
After clicking the Log in button, you can then proceed with the rest of YouTrack’s configuration process as desired.
Upgrading from a previous version
While upgrading from a previous installation of YouTrack is possible, it is recommended to follow the Backup / Restore procedure as detailed in YouTrack’s documentation. We refer the user to the Upgrade an Existing Installation …, which provides detailed step-by-step instructions.
