ZoneMinder Rock-on
Please be aware of the common prerequisites for all Rockstor Rock-ons (Docker Plugins); specifically the Initial Rock-ons Setup and The Rock-ons root requirement.
Our ZoneMinder Rock-on forum area.
What is ZoneMinder
ZoneMinder is a full-featured and open source video surveillance software system. Licensed as GPLv2 or later. Capabilities include the use of pretty much any camera, either directly connected or IP-enabled, and the capability to run on general purpose hardware. The source code can be found on their GitHub page. The web interface is mobile capable but there are also Android, IOS, and Desktop apps available that interface with the open third-party friendly APIs. zmNinja is one such app that is now maintained by the ZoneMinder developers: gracefully handed-on after 6 years of development by Pliable Pixels. This app is also open source and on GitHub and more recently re-licensed as GPLv3.
ZoneMinder Documentation
Zoneminders own documentation is extensive and well presented. A good place to start from a Rockstor Zoneminder Rock-on perspective would be the Getting Started section of the User Guide as the Installation Guide is redundant given that the below instructions guide you though the Rock-on install which effectively install a docker based version of ZoneMinder for you.
Installing ZoneMinder Rock-on
First please consider the pre-requisites for any Rockstor Rock-on; these are linked to at the top of this document. Note also that the ZoneMinder Rock-on will require two shares. One for the main storage of configuration and event recording data, and another for the database used by ZoneMinder to tie everything together. As databases can present a special work load to btrfs (the underliying filesystem used by Rockstor) this share has been kept separate. This then affords the possibility of differing filesystem maintenance schedules for the two shares and for additional performance tunning if that becomes necessary. Note that this does not include the pre-required share to enable Rock-ons in the first place ie the previously referenced The Rock-ons root.
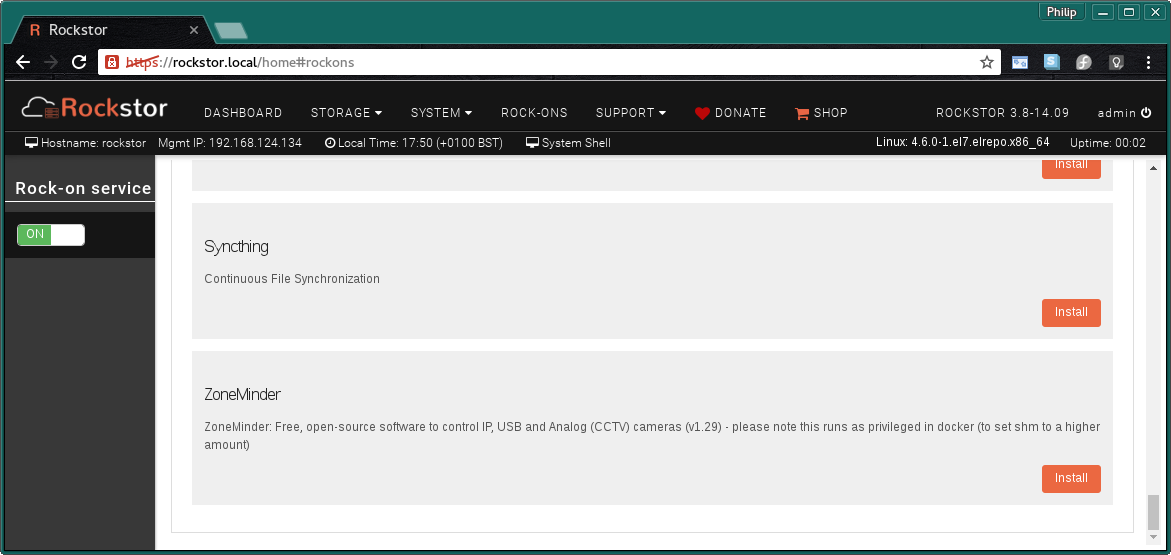
Click the Install button next to the ZoneMinder listing on the Rock-ons page.
ZoneMinder Shares
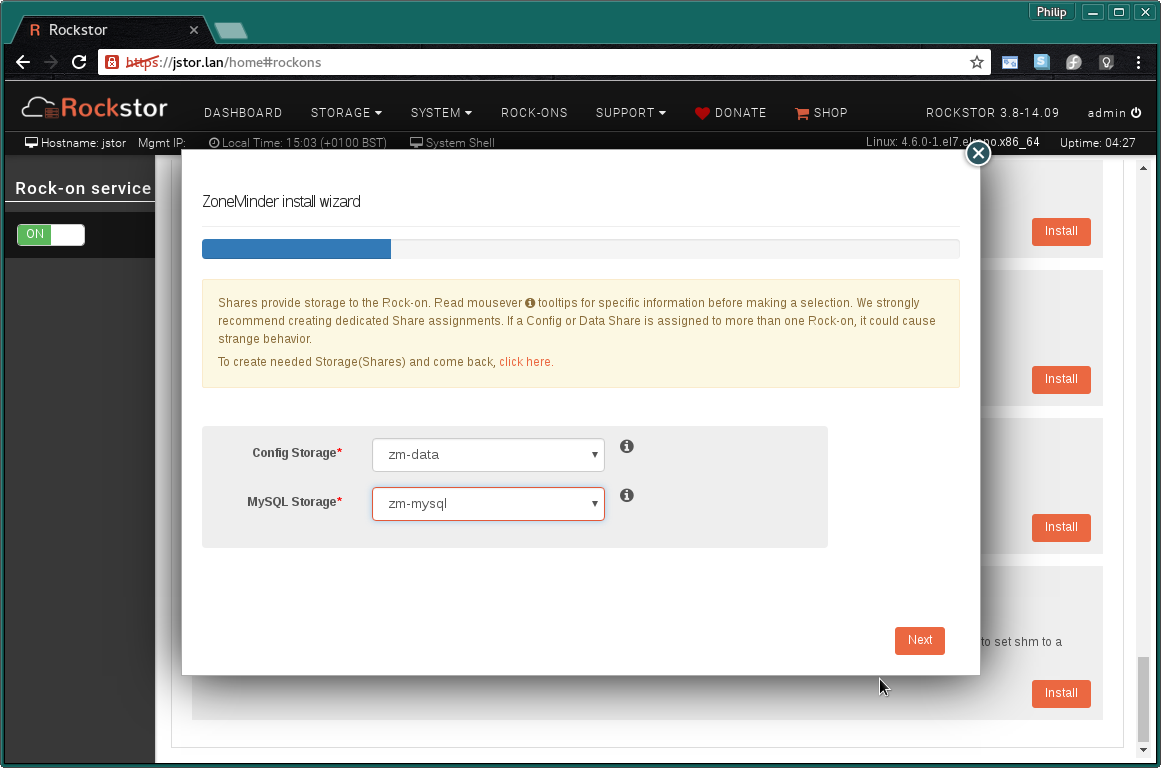
Next we select the Storage areas for the ZoneMinder Rock-on’s Config Storage and MySQL Storage files. Note that the order of these items may vary.
Config Storage - room for all video events and configuration - minimum 50 GB
MySQL Storage - sufficient to house the MySQL database - minimum 5GB
If you find that these values are insufficient then please discus this on the Rockstor forum so that this document might be updated and improved.
In the following image we are using the example names of zm-data and zm-mysql.
N.B. to create these Shares or ‘Storage areas’ please see our Creating a share.
ZoneMinder Port
This is the Default Port and it is unlikely that you will have to alter it.
WebUI port - This is the port you will use to access the ZoneMinder UI.
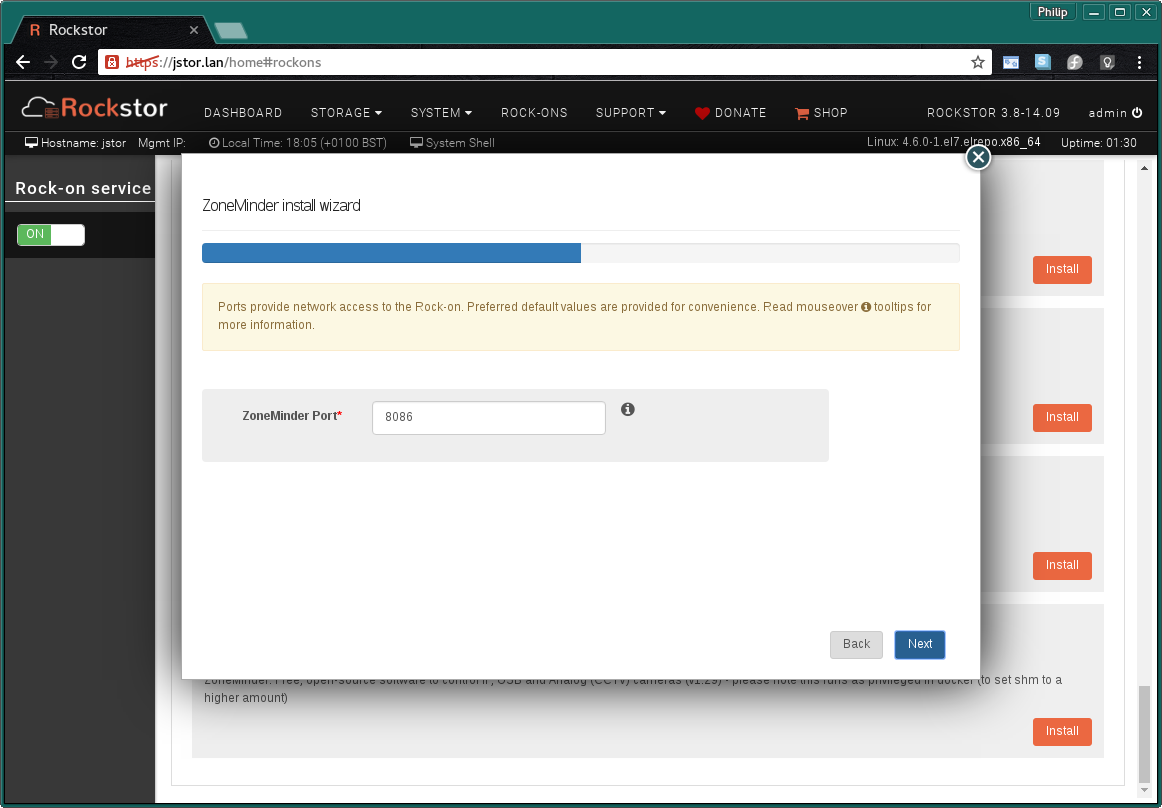
In the above we see the default port number of 80 was over ridden and another port was automatically inserted. This can happen when other Rock-ons have already taken the default port settings and is not generally a problem.
The next screen is to confirm the details entered so far.

Now check that the entered details are correct before clicking Submit.
Closing the resulting simple Installation is in progress dialog and we have:
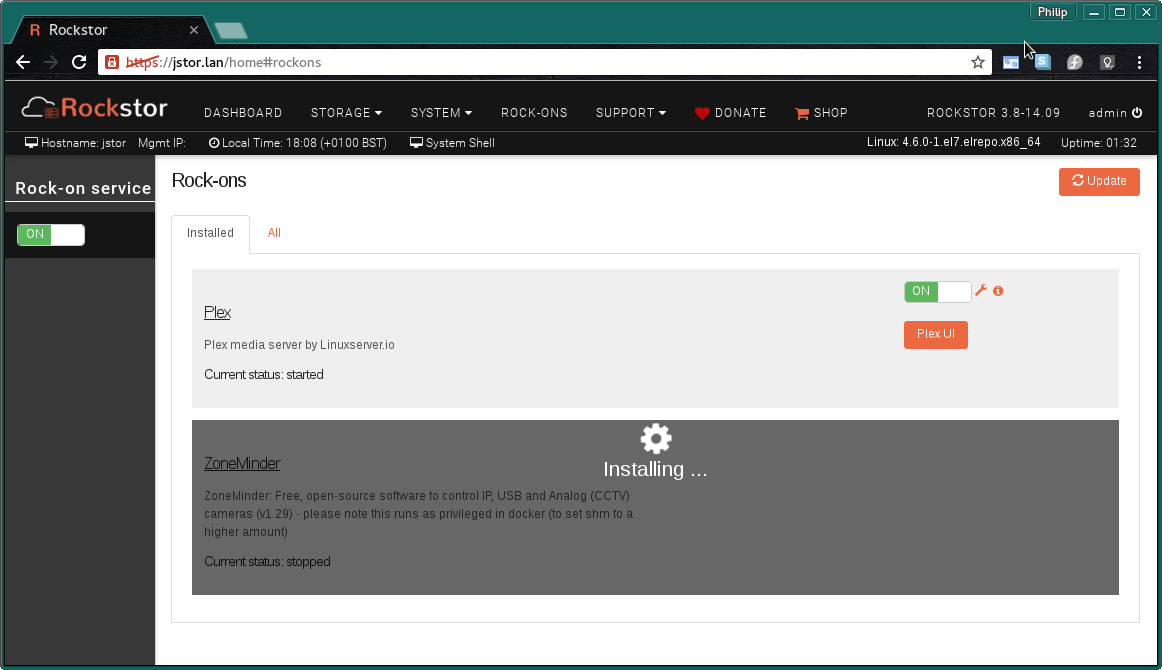
and a few minutes later depending on internet and machine speed:-
The ZoneMinder Media Server Rock-on is ON
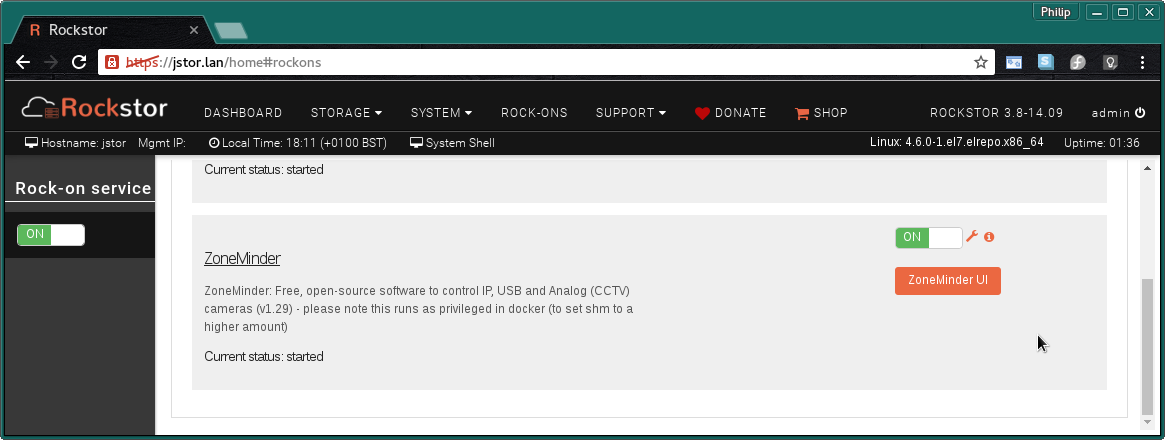
N.B. Notice the ZoneMinder UI button to visit the installed ZoneMinder Web interface and the spanner icon to view the Rock-on settings and add additional Rockstor Shares if required (advanced configurations).
ZoneMinder UI
On first accessing the ZoneMinder UI via the ZoneMinder UI button on the Rock-ons page you should be greeted with the following page:
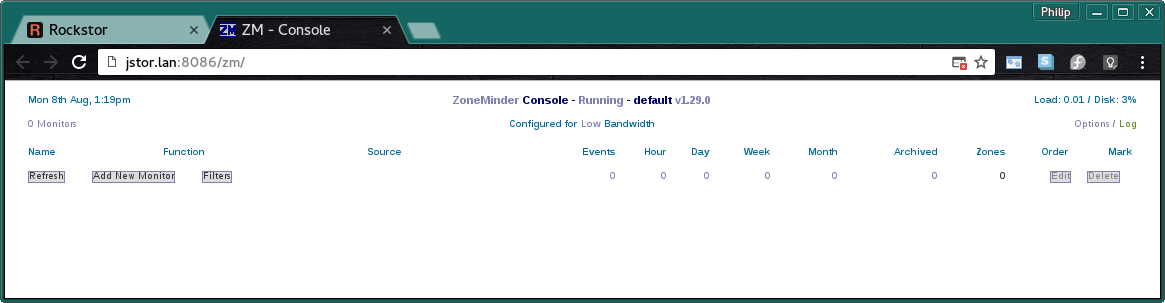
Notice that in the URL (address) bar of our browser (chrome in this case) we have a red notification. This is to indicate that popups are blocked:
It is required by the ZoneMinder Web-UI that popups be allowed
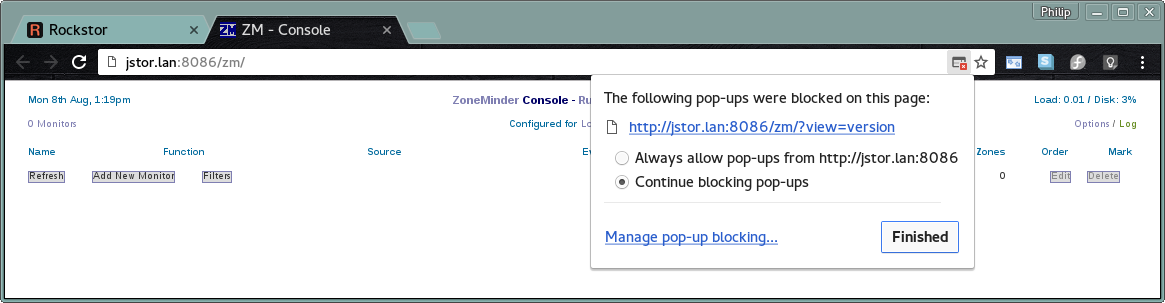
Select “Always allow pop-ups from …”. Assuming the address listed matches that shown in your url (address) bar. See Block or allow pop-ups in Chrome
Post Install Configuration
Given ZoneMinder is extremely versatile it is inevitable that it has a significant number of options. The default configuration may well server but it is advised that the following initial changes be made to improve the base capabilities.
Initial Configuration
The suggested initial configuration changes are detailed within the i icon dialog.
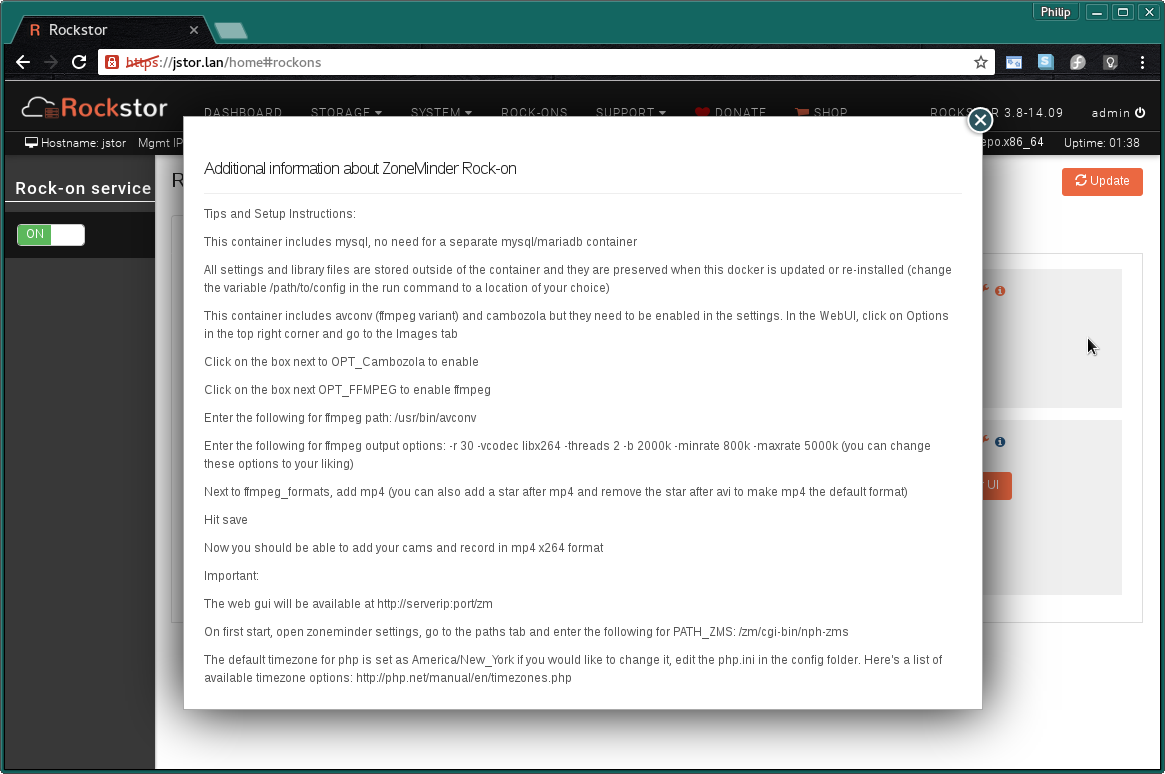
Reproduced here for clarity:-
Additional information about ZoneMinder Rock-on:
Tips and Setup Instructions:

This container includes avconv (ffmpeg variant) and cambozola but they need
to be enabled in the options. In the WebUI, click on Options in the
top right corner and go to the Images tab.
Click on the box next to OPT_Cambozola to enable.
Click on the box next OPT_FFMPEG to enable ffmpeg.
Enter the following for ffmpeg path: /usr/bin/avconv.
Enter the following for ffmpeg output options:
-r 30 -vcodec libx264 -threads 2 -b 2000k -minrate 800k -maxrate 5000k
(you can change these options to your liking)
Next to ffmpeg_formats, add mp4 (you can also add a star after mp4
and remove the star after avi to make mp4 the default format)

Hit save

Now you should be able to add your cams and record in mp4 x264 format.
Important:
The web gui will be available at http://serverip:port/zm
On first start, open zoneminder options, go to the Paths tab and enter
the following for PATH_ZMS: /zm/cgi-bin/nph-zms

The default timezone for php is set as America/New_York if you would like
to change it, edit the php.ini in the config folder.
Here's a list of available timezone options:
https://php.net/manual/en/timezones.php"
It is only required that you do the PATH_ZMS change but all the other changes are optional but should enhance your experience.
The following shows the Images tab within the Options popup with the above suggestions applied.
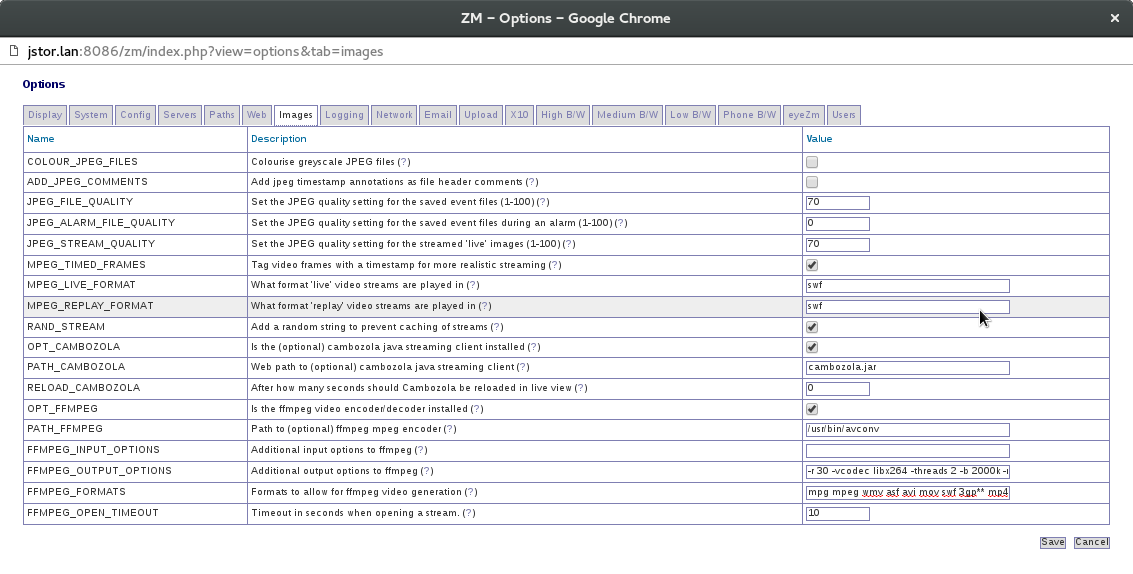
and the following shows the Paths tab within the Options popup with the above suggestions applied.
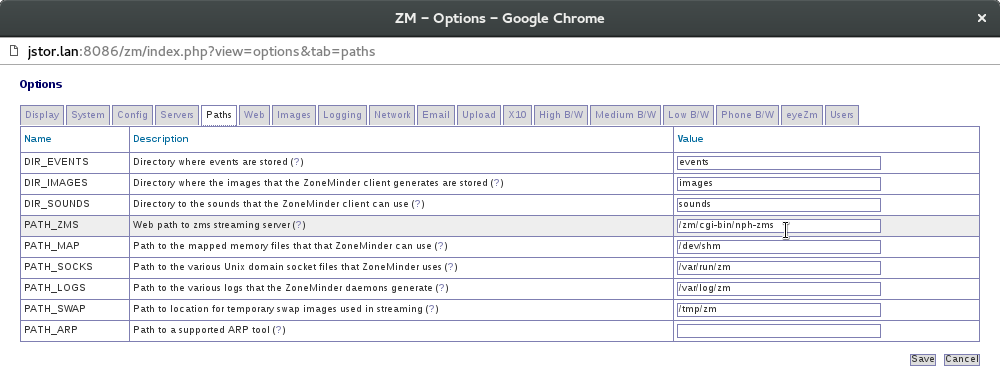
Note that this addition is the required one and simply involves adding /zm to the beginning of what is already there.
After making the above path change you will be informed that this change needs a restart in order to take effect.
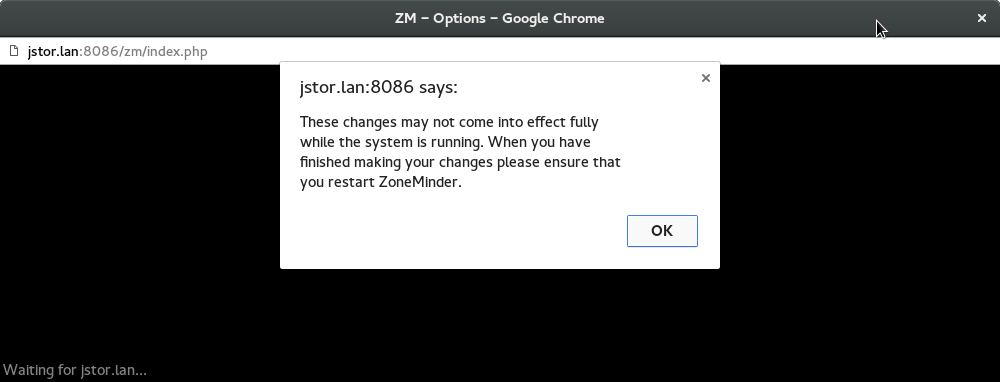
Restart message after above Path change, OK the message and restart the ZoneMinder Rock-on.
To achieve this restart simply Turn the Zoneminder Rockon-on OFF then ON again on the Rock-ons page, each action should take around 10 seconds.
Enabling Authentication
The previously referenced Getting Started project documentation has this information as it’s first section. Please follow the instructions there if you wish your ZoneMinder to be more secure.
Nicer Theme
The Getting Started project document also explains how to improve on the rather stark initial theme.
The initial ZoneMinder Web-UI page with the suggested Flat theme.
Much nicer
Time-Zone Trickery
Unfortunately there is no time zone setting in Zoneminder and as per the above ‘Tips and Tricks’ we have to change the contents of a file by hand.
If the default of America/New_York is inappropriate then you will first need to lookup the required PHP recognized time zone name on the following page: https://www.php.net/manual/en/timezones.php
So for the example of Europe/London we can apply this change with the following 3 commands, assuming you have a ssh client program installed (included by default on Linux and OSX):
ssh root@rockstor-ip
sed -i -e 's/America\/New_York/Europe\/London/g' /mnt2/zm-data/php.ini
exit
Note that after the first command you will be required to enter the root user’s password which was setup during the initial install of Rockstor.
Also note that the backslash in the middle of your chosen timezone will have to be escaped by adding a \ character as in the example. Also note that this example assumes your Data Storage share was named zm-data as in this guide.
A ZoneMinder Rock-on restart is required for this new time zone setting to take effect.
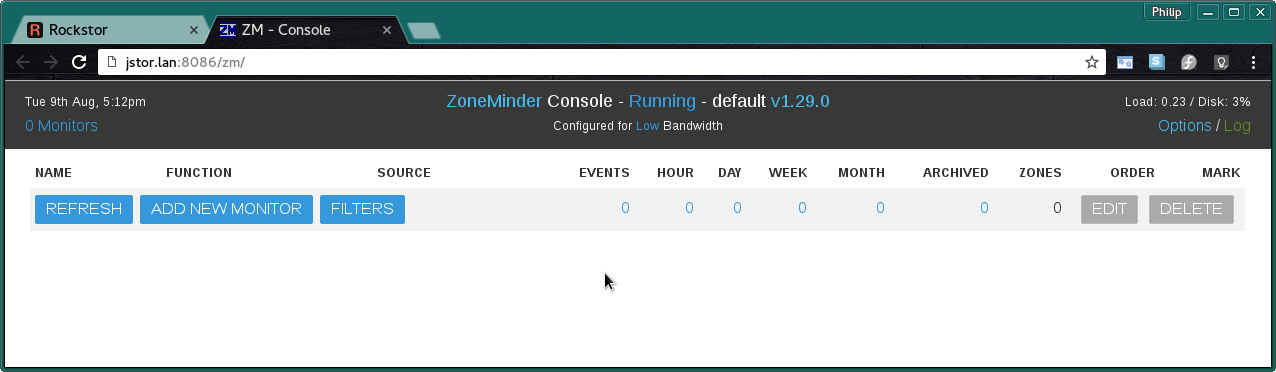
Adding a Camera
In ZoneMinder terminology each camera is a Monitor. Until at least one camera (monitor) is add there are parts of the Web-UI that are inaccessible as they only show up once at least one camera is added. Please see the projects Getting Started Guide for all info and specifically the Understanding the Web Console and the Adding Monitors sections.
You are now free to add as many cameras as your hardware allows and name their respective Monitors to fit their location.
