Jenkins Rock-on
Please be aware of the common prerequisites for all Rockstor Rock-ons (Docker Plugins); specifically the Initial Rock-ons Setup and The Rock-ons root requirement.
Our Jenkins Rock-on forum area.
What is Jenkins
Jenkins, previously known as Hudson, is an MIT Licenced open source automated testing and deployment system, i.e. a continuous integration and continuous delivery system. The idea is that such a system can be used to automate repetitive tasks such as those associated with testing and deployment. This reduces the possibility of human error and is aimed at increasing productivity and shortening the time to deploy fixes to production.
Jenkins Documentation
The Jenkins documentation page is a good place to start. There you will find a quick ‘What is’ a list of features, introductory articles, how to take a test drive via their Java Web Start facility, install instructions, and the aforementioned list of organisations benefiting from Jenkins. See also the Jenkins Blog page.
Installing Jenkins Rock-on
First please consider the pre-requisites for any Rockstor Rock-on; these are linked to at the top of this document. Note also that the Jenkins Rock-on will require a Share to use as it’s working directory. Note that this is in addition to the The Rock-ons root that may well already have been made.
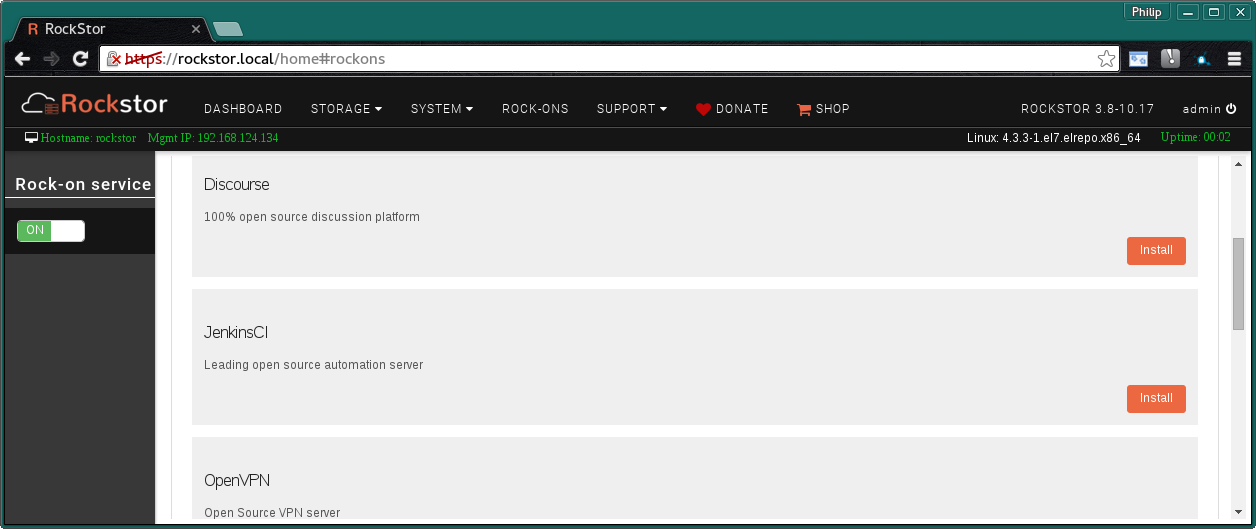
Click the Install button next to the Jenkins listing on the Rock-ons page.
Jenkins Share
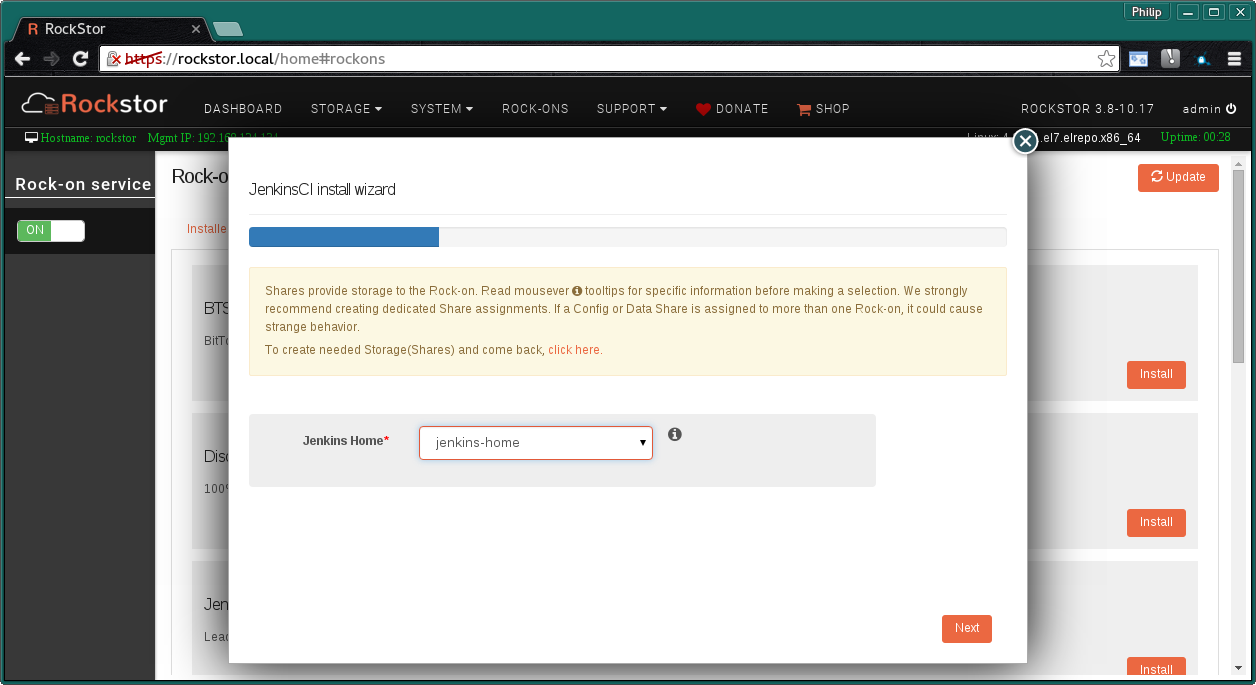
Next we select the Jenkins Home. Here we are using the obviously named jenkins-home share setup for this purpose. Note that this share should not be owned by root as the Jenkins server, once installed, will run as the owner of the share configured here.
Jenkins Home - share owned by a custom non-admin non-root user i.e. jenkins.
N.B. to create this storage area please see our Creating a share.
The following image illustrates an example Access Control setting for the jenkins-home share.
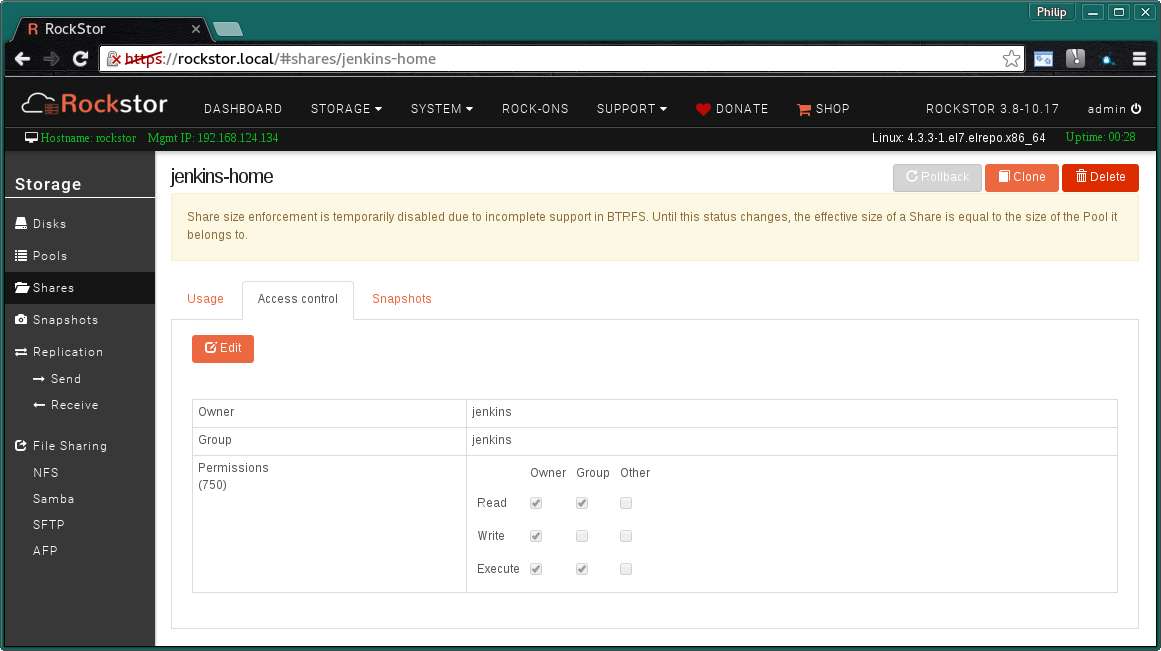
Note that the jenkins user does not exist by default but can be created easily by following the Users part of our documentation.
Jenkins Ports
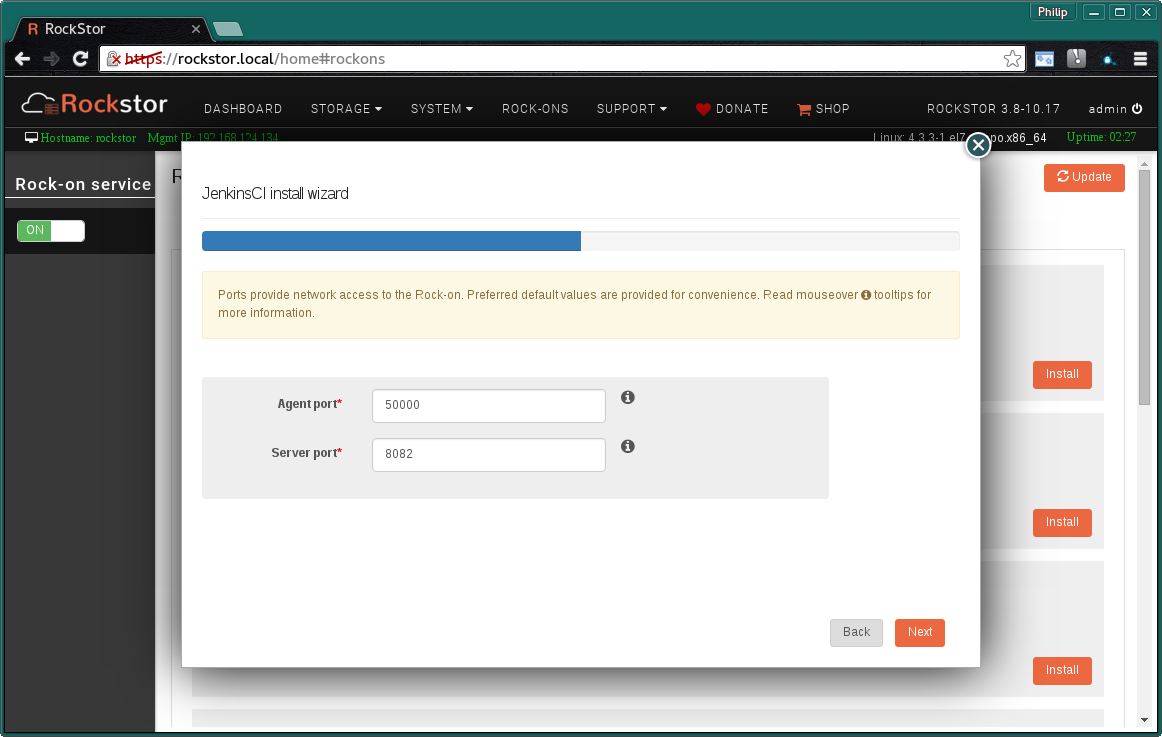
These are the Default Ports and it is unlikely you will have to alter them. The ports shown on your particular install, especially the Server port may not be the same as in the following image. This depends on what other Rock-ons have already been installed. Also note that you may have to forward the Server port on your network’s firewall to the Rockstor system to have internet access to Jenkins’s UI.
Agent port - the port Jenkins agents use to communicate with the server.
Server port - the Web UI port of the Jenkins server.
Next button.
The next screen to appear is a summary of the details entered so far.
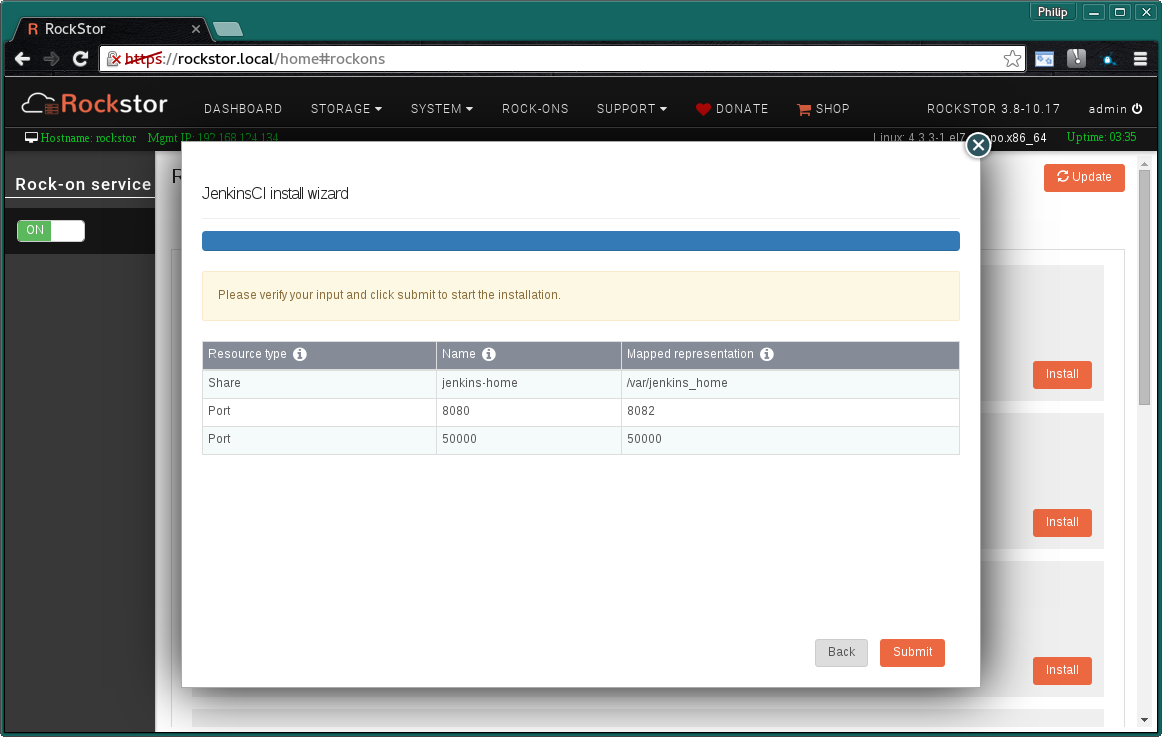
Check that the entered details are correct before clicking Submit.
Closing the resulting simple Installation is in progress dialog and we have:-

and a few minutes later depending on internet and machine speed:-
The Jenkins Rock-on is ON

N.B. Notice the JenkinsCI UI button and the spanner icon to adjust the Rock-on settings.
Jenkins UI
The Default Jenkins UI accessed via the JenkinsCI UI button on the Rock-ons page:-
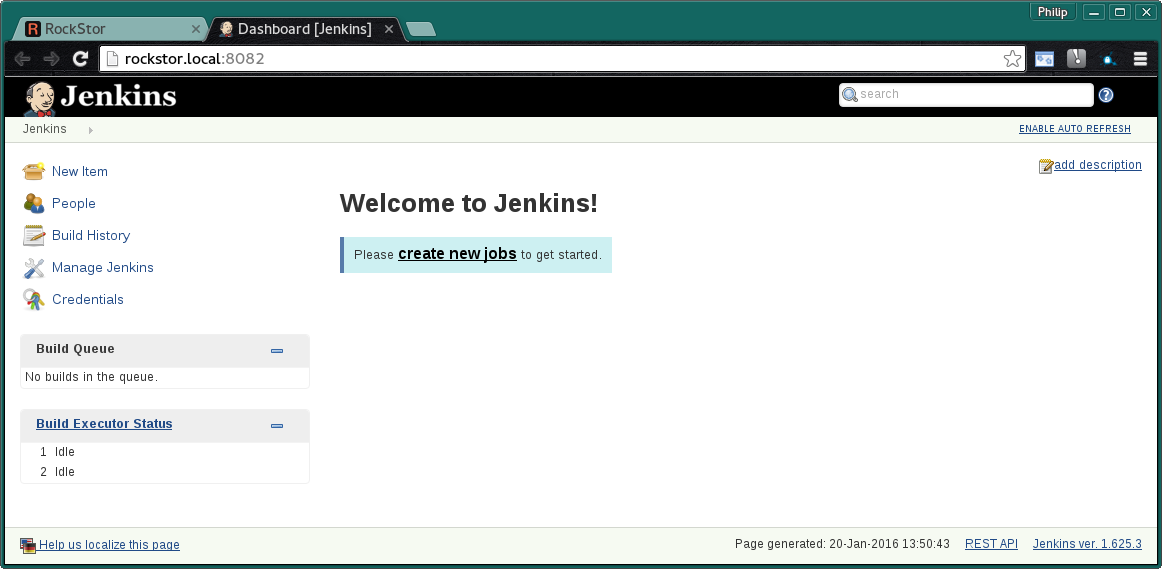
You can now juggle your Jenkins jobs for your continuous integration in your very own Jenkins server Rock-on; Jenkins Documentation.
